Orange Blossom Mead
by Ben Centra
Yes, the first recipe on the beer blog isn’t actually beer. I’m starting with mead for two reasons. First, my cousin requested it and if I brew it now it can be ready for our family’s Thanksgiving dinner. Second is it’s relatively simple, even compared to all-extract beer recipes. Boil some water, add honey, cool it down, add yeast, and wait. That’s it!
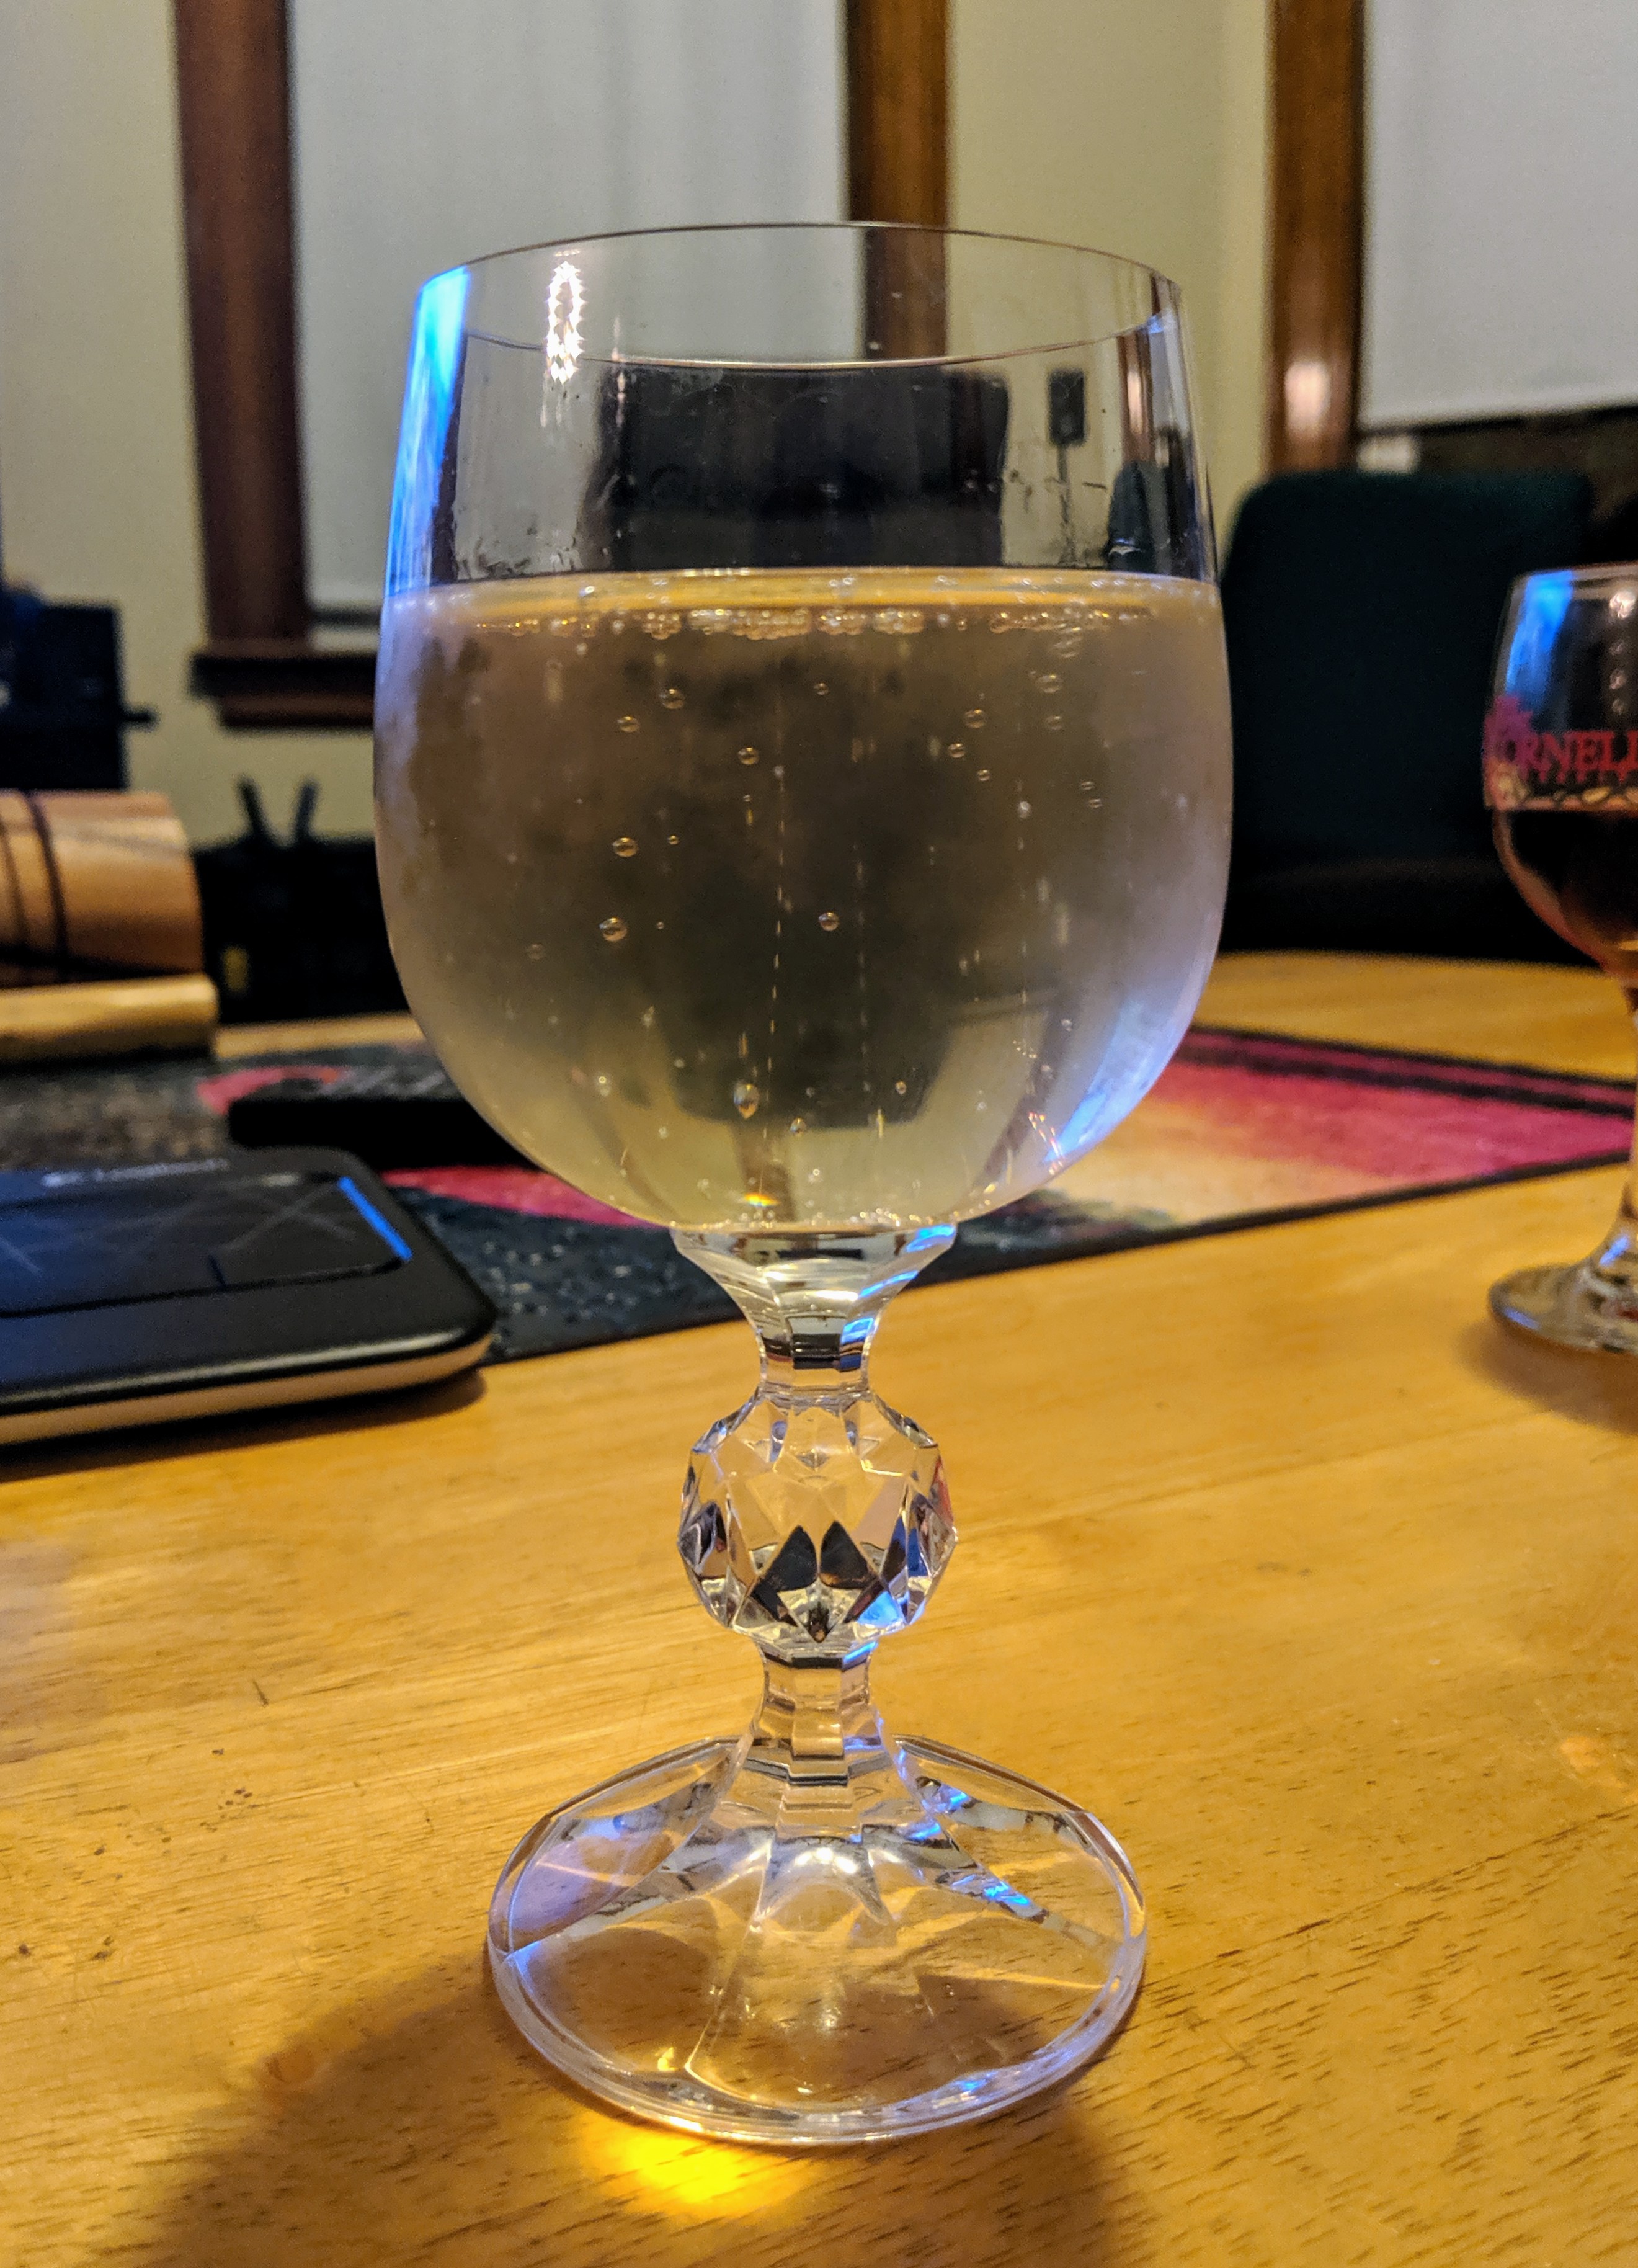
A glass of my first mead made with clover honey, aged about 6 months.
This is only the second mead I’ve ever brewed, this time using orange blossom honey. I’m experimenting with some sweet orange peel as well, hoping to add some real orange flavor (or at worst not add much of anything).
Specs
| Style | Dry Mead (BJCP M1A) |
| Batch Size | 2 Gallons |
| Original Gravity | 1.094 |
| Final Gravity | 0.995 |
| ABV | 13.3% |
Ingredients
The ingredients for Orange Blossom Mead: orange blossom honey, yeast, and some optional sweet orange peel.
| Fermentables | |
|---|---|
| Kind | Amount |
| Orange Blossom Honey | 5 lb |
| Other | |||
|---|---|---|---|
| Kind | Amount | Stage | Time |
| Sweet Orange Peel (optional) | 0.5 oz | Boil | 5 min |
| Yeast Nutrient | 1/4 tsp | Pitch |
| Yeast | |
|---|---|
| Kind | Amount |
| Lalvin D-47 | 1 packet (5 grams) |
A good shorthand is to use 2-3 pounds of honey per gallon of mead, depending on the ABV you’re trying to achieve. For this batch I went right down the middle with 2.5 pounds per gallon.
Recipe
In your brew kettle, bring 1.5 gallons of water to a boil. You don’t want to start with the full amount of water; you can easily add water back to reduce the strength, but not remove it from a weak batch! Couldn’t hurt to keep some extra honey on hand just in case.
Will the orange peel add significant orange flavor to the mead? We'll find out soon enough!
Once boiling, add the sweet orange peel and let boil for 5 minutes. I steeped the peel in a muslin back to easily extract it from the pot. If you don’t have one, you’ll need to strain out the peel. Idea for next time: steep the orange peel separately and mix the orange peel “tea” in with the honey!
In goes the honey!
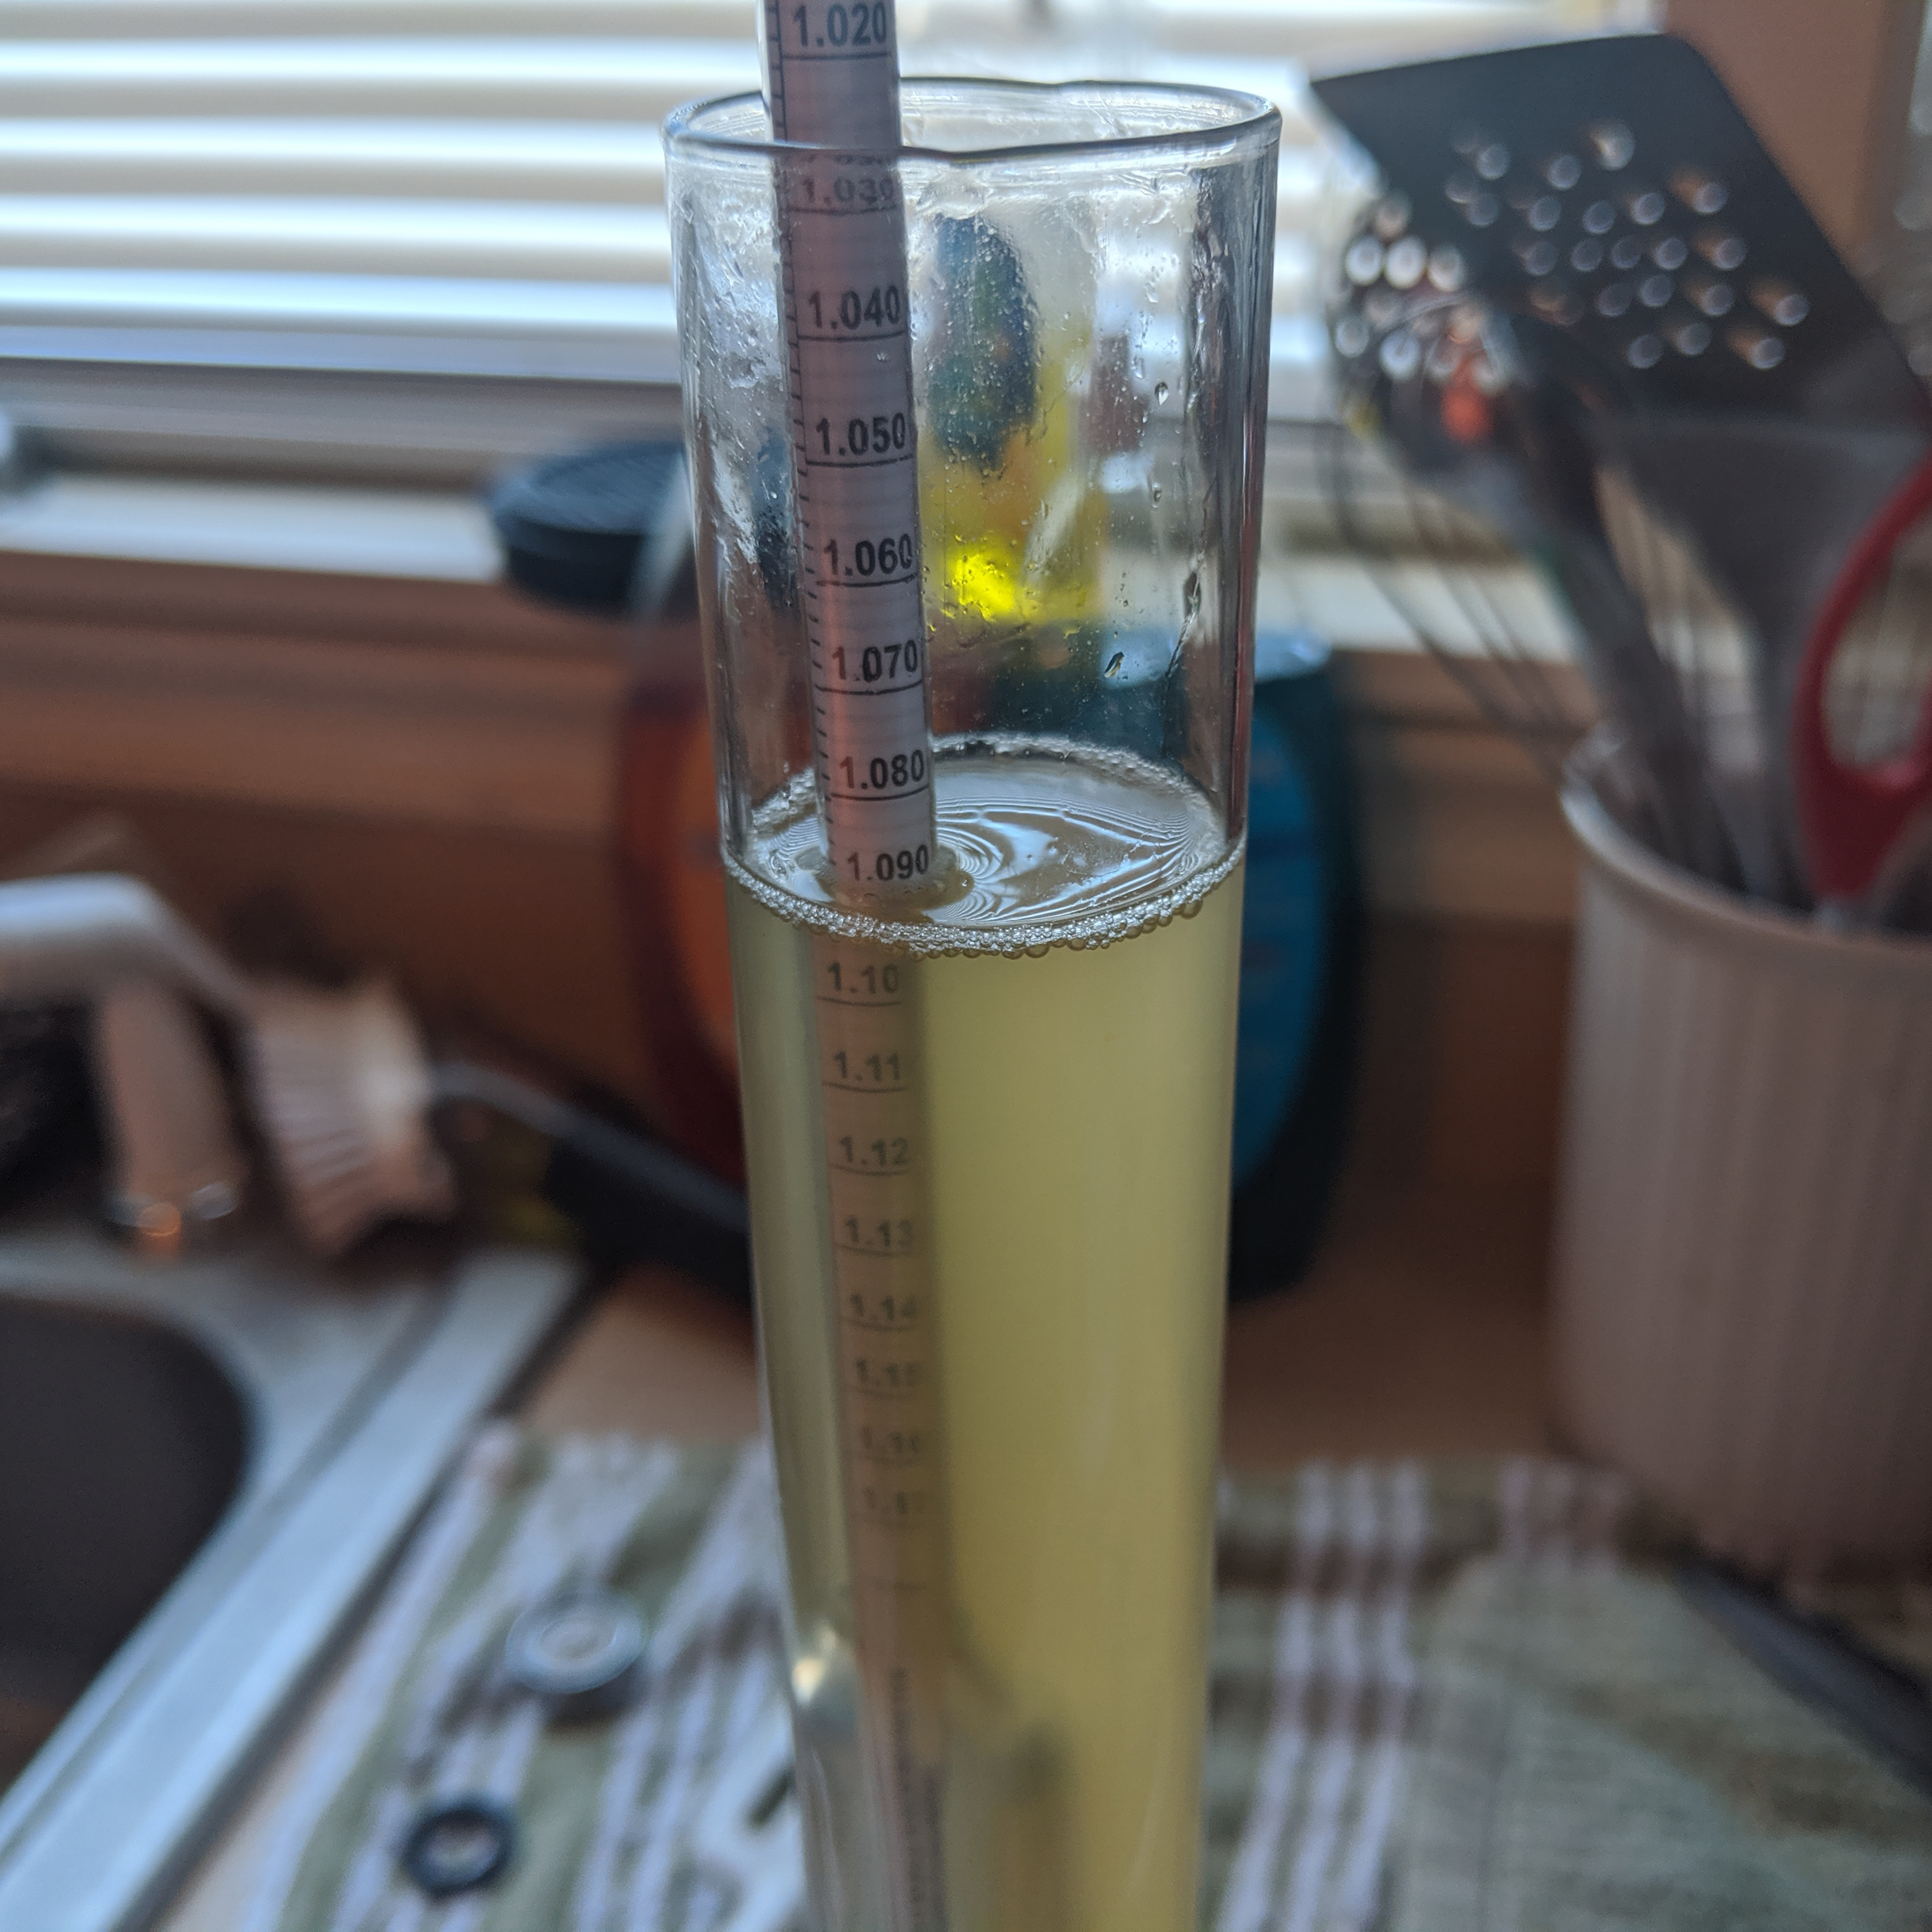
After 5 minutes, turn off the heat and remove the orange peel. Slowly stir in the honey until dissolved. Then, chill the must to 70-80°F. I use a wort chiller to speed up the process. At this point, measure your gravity! My gravity was high as expected at 1.110, since I started with less water. So I watered my must down by adding two quarts of cool water, bringing the must down to a gravity of 1.090, just under target.
Always remember to check your starting gravity!
Transfer the cool must to your fermenter and aerate it with some vigorous stirring. Finally, it’s time to pitch the yeast and add the yeast nutrient. Seal up your fermenter with an airlock and let sit for two to four weeks minimum before racking to secondary fermentation.
Check on your mead periodically to monitor the fermentation and measure the gravity. Mead takes longer to ferment than beer, on a scale of months instead of weeks. I let my mead sit for two months before bottling half, then two more months for the other half.
When you’re satisfied with your mead’s fermentation, it’s time to bottle! You can add potassium sorbate to prevent your mead from fermenting further in the bottle, or you can bottle it straight to get some natural carbonation as the mead conditions in the bottle.
Result
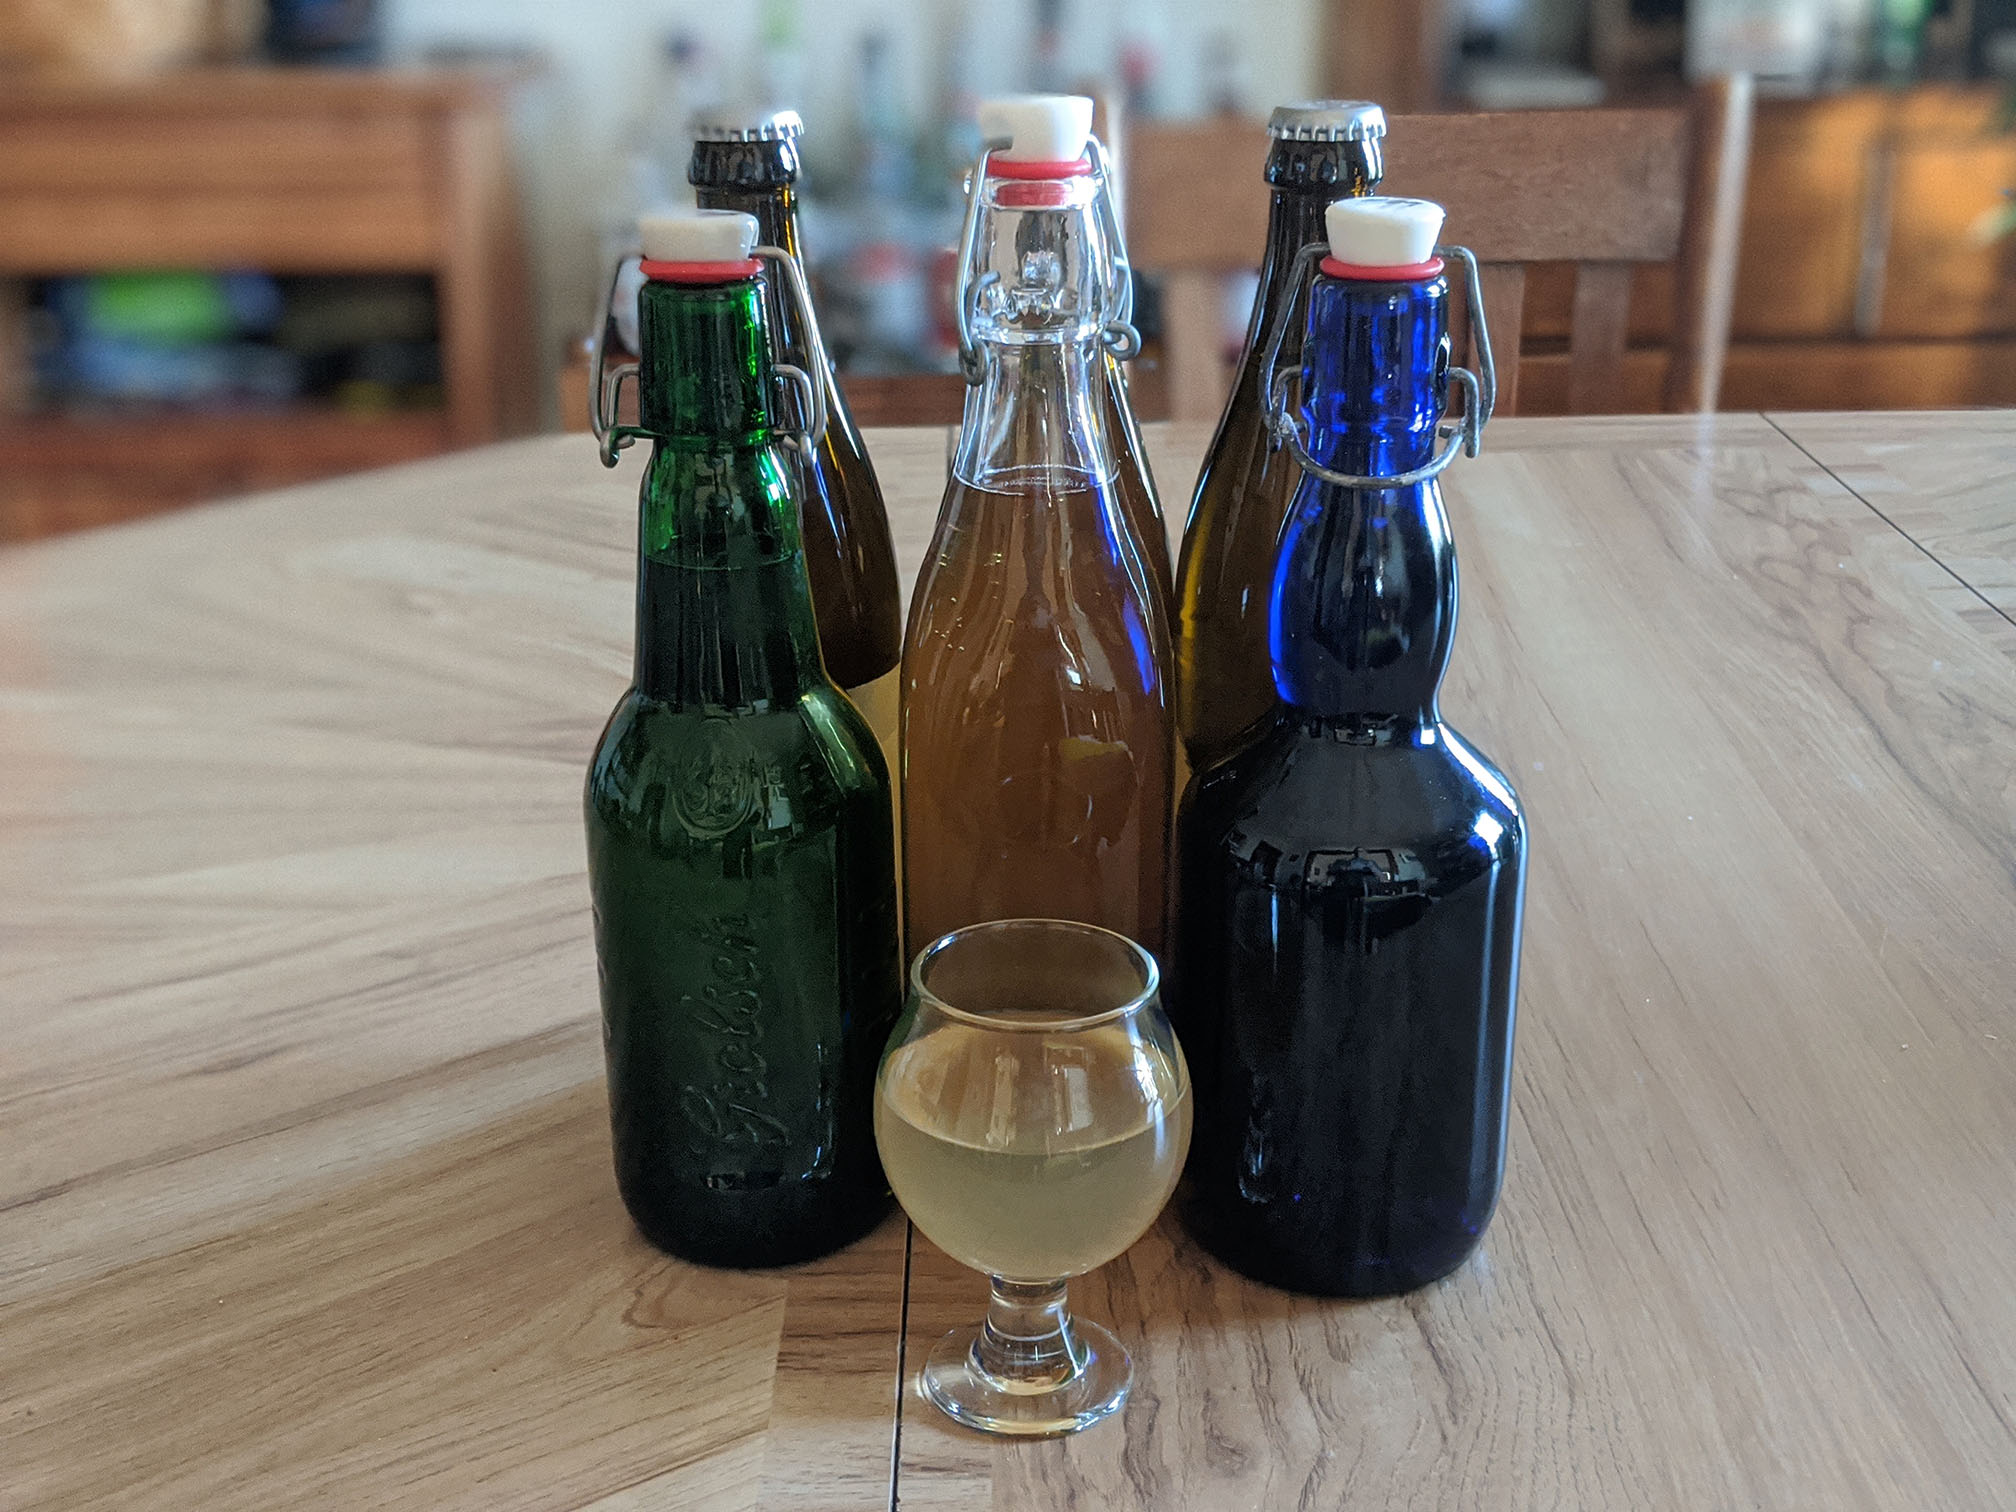
The four-month fermented Orange Blossom Mead, bottled for futher aging.
A few months might seem like a long time, but it’s worth the wait. The majority of the taste is the honey, balanced with the alcohol and some breadiness from the yeast. The extra orange peel didn’t do much, so I’d probably leave it out of future recipes. It certainly doesn’t taste like a 13% ABV wine; it tastes a lot smoother and sweeter. I let the mead condition in the bottle, so it ended up being a sparkling mead.
I’ll be saving my remaining gallon stash of mead for special occasions throught the next year or more. I’m curious to see if it changes even more in the bottle. I expect I’ll brew another batch in the fall next year and keep the cycle rolling.
Subscribe via RSS


