My Homebrewing Equipment
by Ben Centra
Interested in homebrewing but worried about the cost? Though you can certainly spend a lot on modern “complete” brewing system such as the Grainfather, you can absolutely brew at home with a simple stovetop setup. I began with an all-in-one kit and the pot I already had in my kitchen, slowly inveesting in more equipment over time. No use in buying expensive equipment if you won’t use again or jumping right to a 5-gallon setup if you won’t drink that much beer!
Below is what I’ve currently got on my equipment shelf. I’ll update this post in the future whenever I make changes to my setup. You can buy it all individually as you need it, or get most of it in a starter kit for $200 to $340.
Note: The links throughout this article are not affiliate links, I’m not getting paid for clicks or purchases. They are just to show off examples of the gear I use. Support your local homebrew store if you have one, or pick your online retailer of choice.
Brew Kettle
Price: $50 and up.
Grains need steeping and hops need boiling. Your kettle is where you’ll turn your ingredients into the wort that the yeast will ferment into your beer. You’ll want a kettle with more capacity than your largest batch size to handle the volume increase while steeping grains, especially if you plan on doing all-grain brewing.
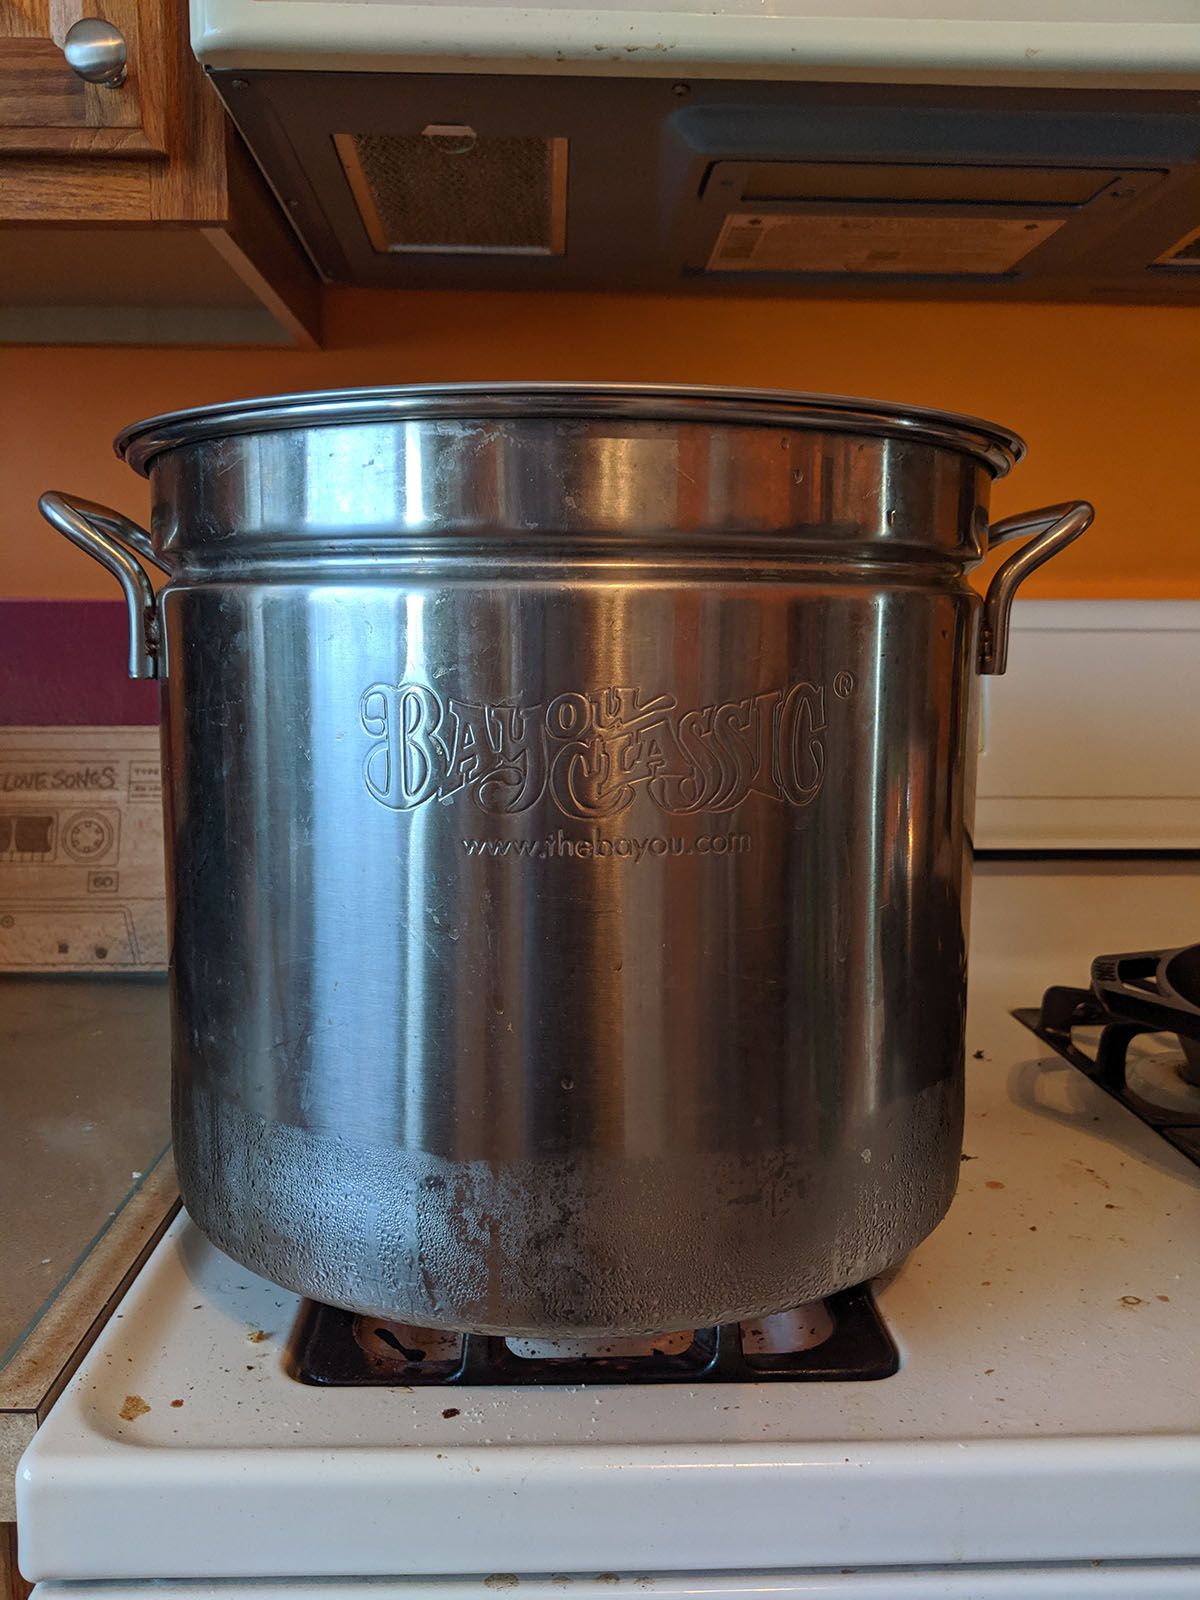
My Bayou Classic brew kettle.
I use a 40 Quart Bayou Classic Brew Kettle for all my brews. It’s large enough for a 5-gallon all-grain batch, though I usually brew 2-3 gallons at a time. It’s a sturdy kettle that heats up well on my kitchen’s gas stove and is easy to clean.
Fermenters
Price: $12 and up.
Once you have your wort, you’ll need to put it in an airtight container while it ferments. This is your fermenter. At a minimum, you need one glass carboy or plastic bucket that can hold all of your wort. Typically fermentation is split into “primary” and “secondary” stages (more on that in another post), so you’ll want at least two fermentation vessels.
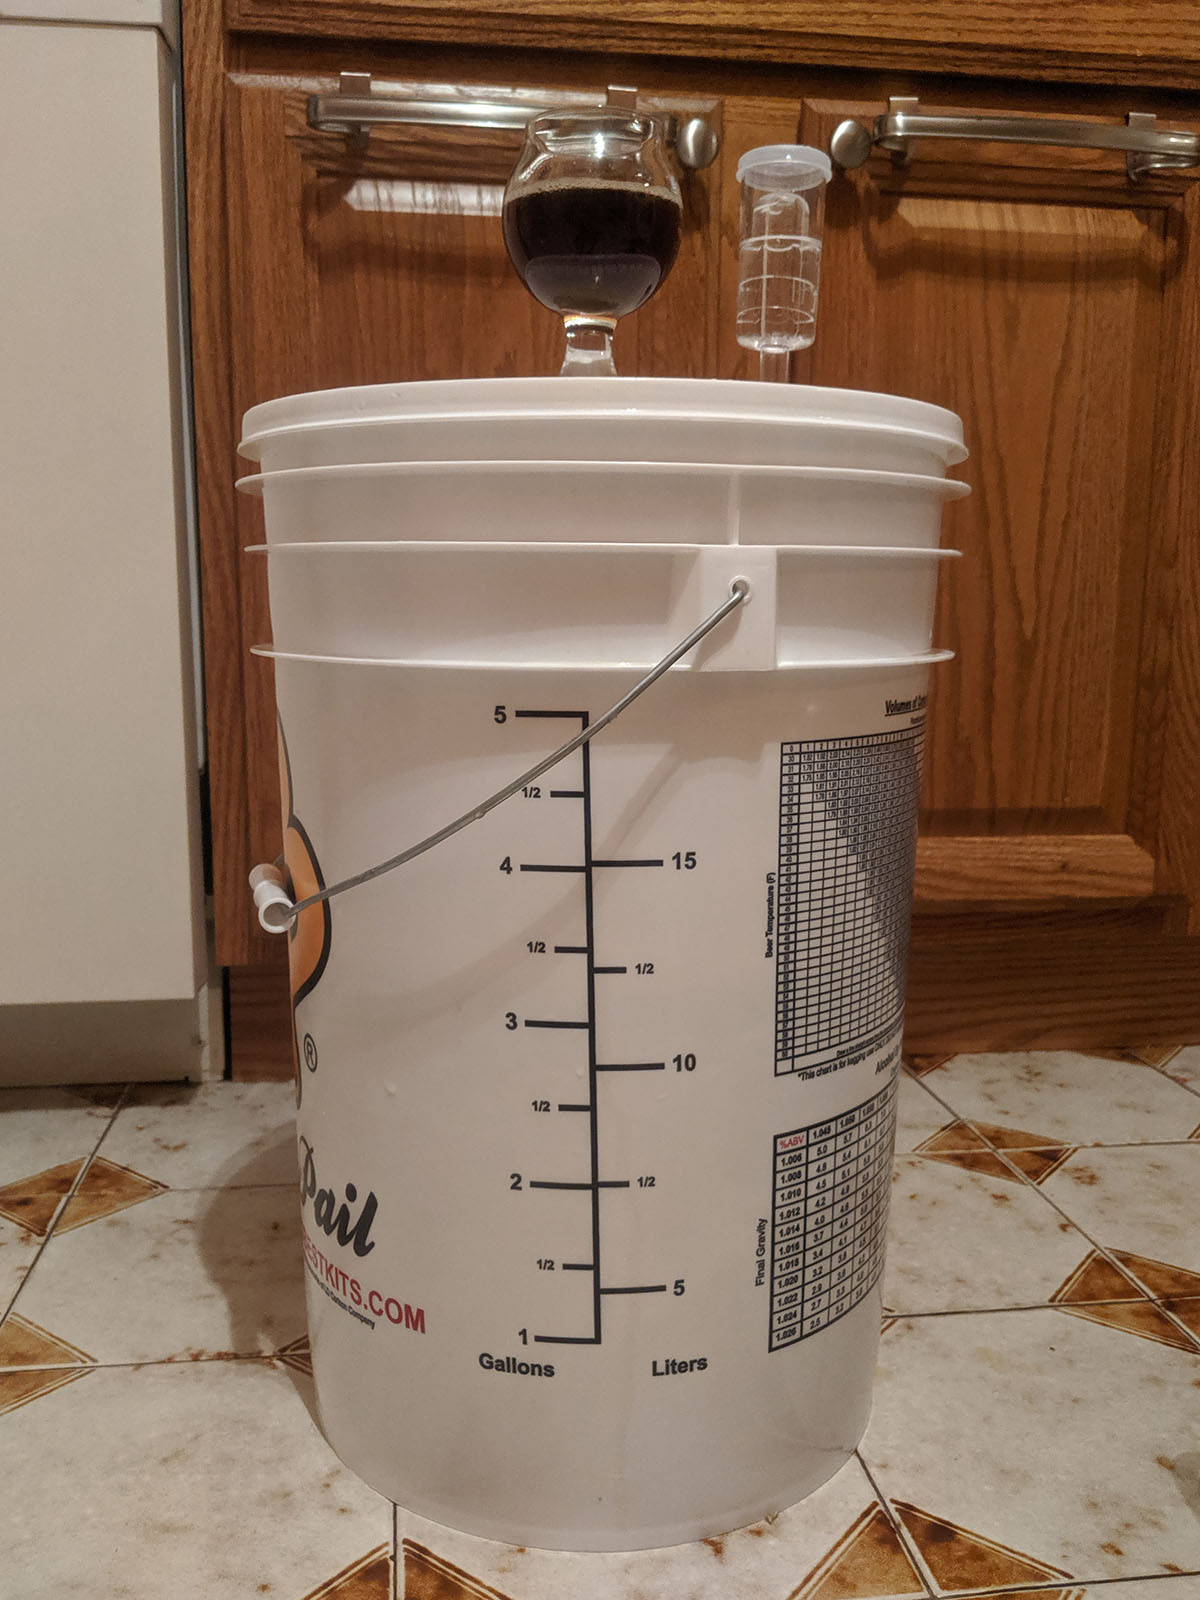
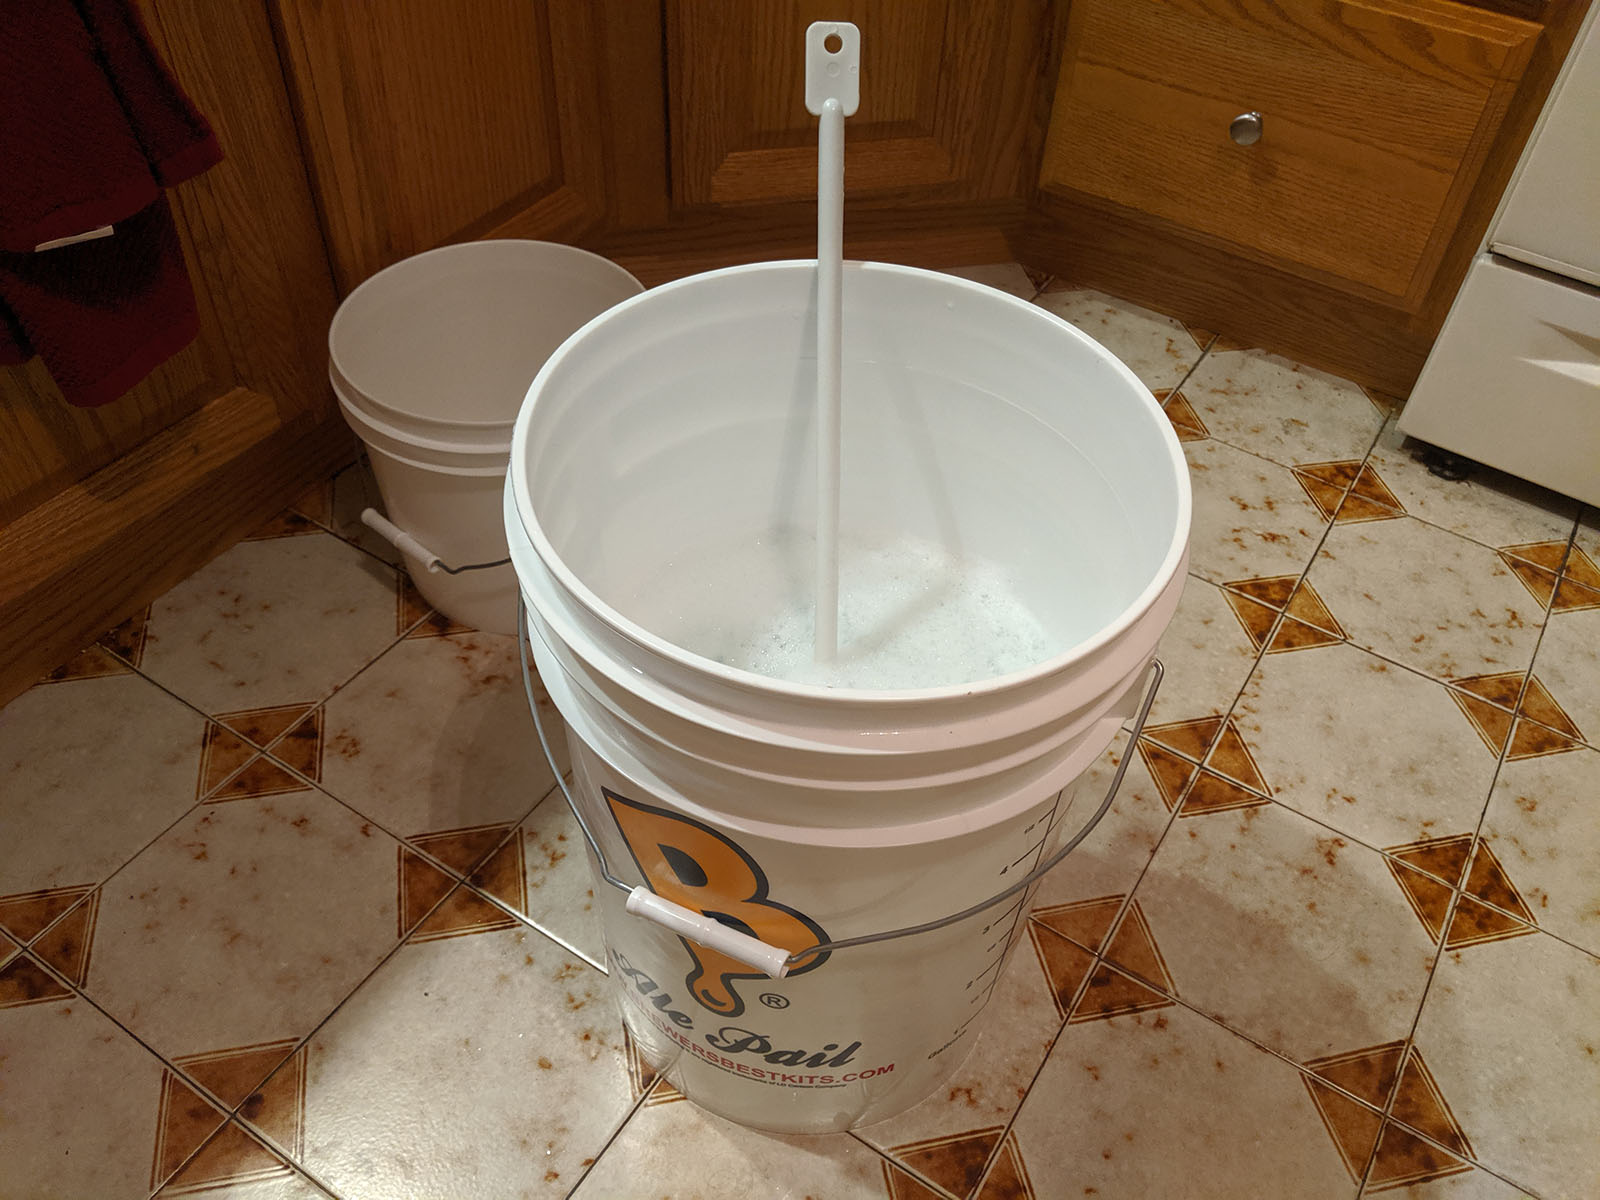
I do most of my primary and secondary fermetation in 5-gallon buckets.
These days I mostly use plastic buckets. They are less airtight than glass carboys, but I find them easier to clean. I keep several small and large buckets and lids on hand so I can ferment several beers at once. I also use the extra buckets for holding sanitized water to keep my equipment clean while I’m brewing. Though I usually brew 3-gallon batches or less, I mostly end up fermenting in a 6.5-gallon “Ale Pail”. I have also used 5-gallon carboys for large batches.
Airlocks
Price: $2-3.
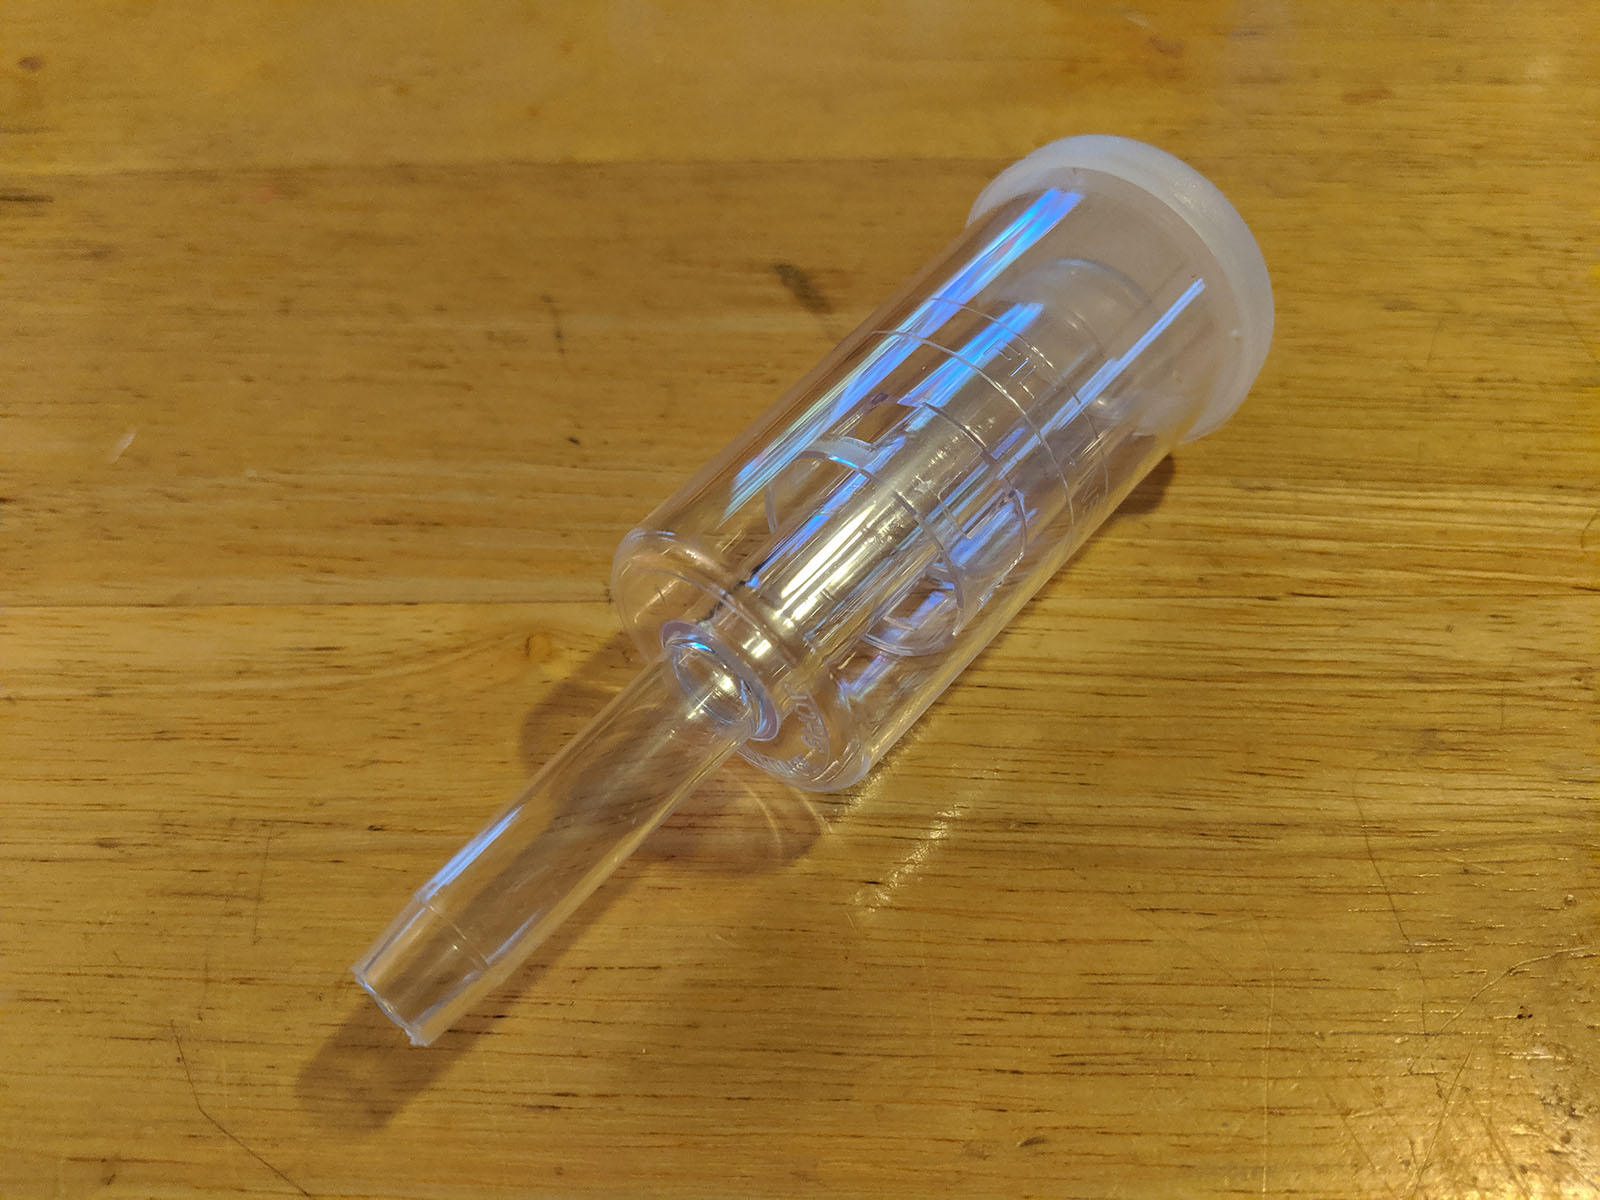
While the beer is fermenting, you want to let the carbon dioxide produced by the yeast out without letting in any more oxygen. Brewing bucket lids or rubber stoppers for carboys will have a hole for you to insert an airlock. By partially filling the airlock with water, you create a one-way passage to let CO2 out as the pressure in the fermenter builds.
Airlocks keep oxygen out while letting excess carbon dioxide escape.
Because primary fermentation can produce a lot of foam, you may want to use a blow-off rig for the first few days. Place one end of a rubber tube in the lid or stopper in place of the airlock. Submerge the other end in a small pot or bucket half full of water. Excess foam will flow through the tube and safely out into the bucket instead of passing through the airlock and making a mess.
Thermometer
Price: $5-$15.
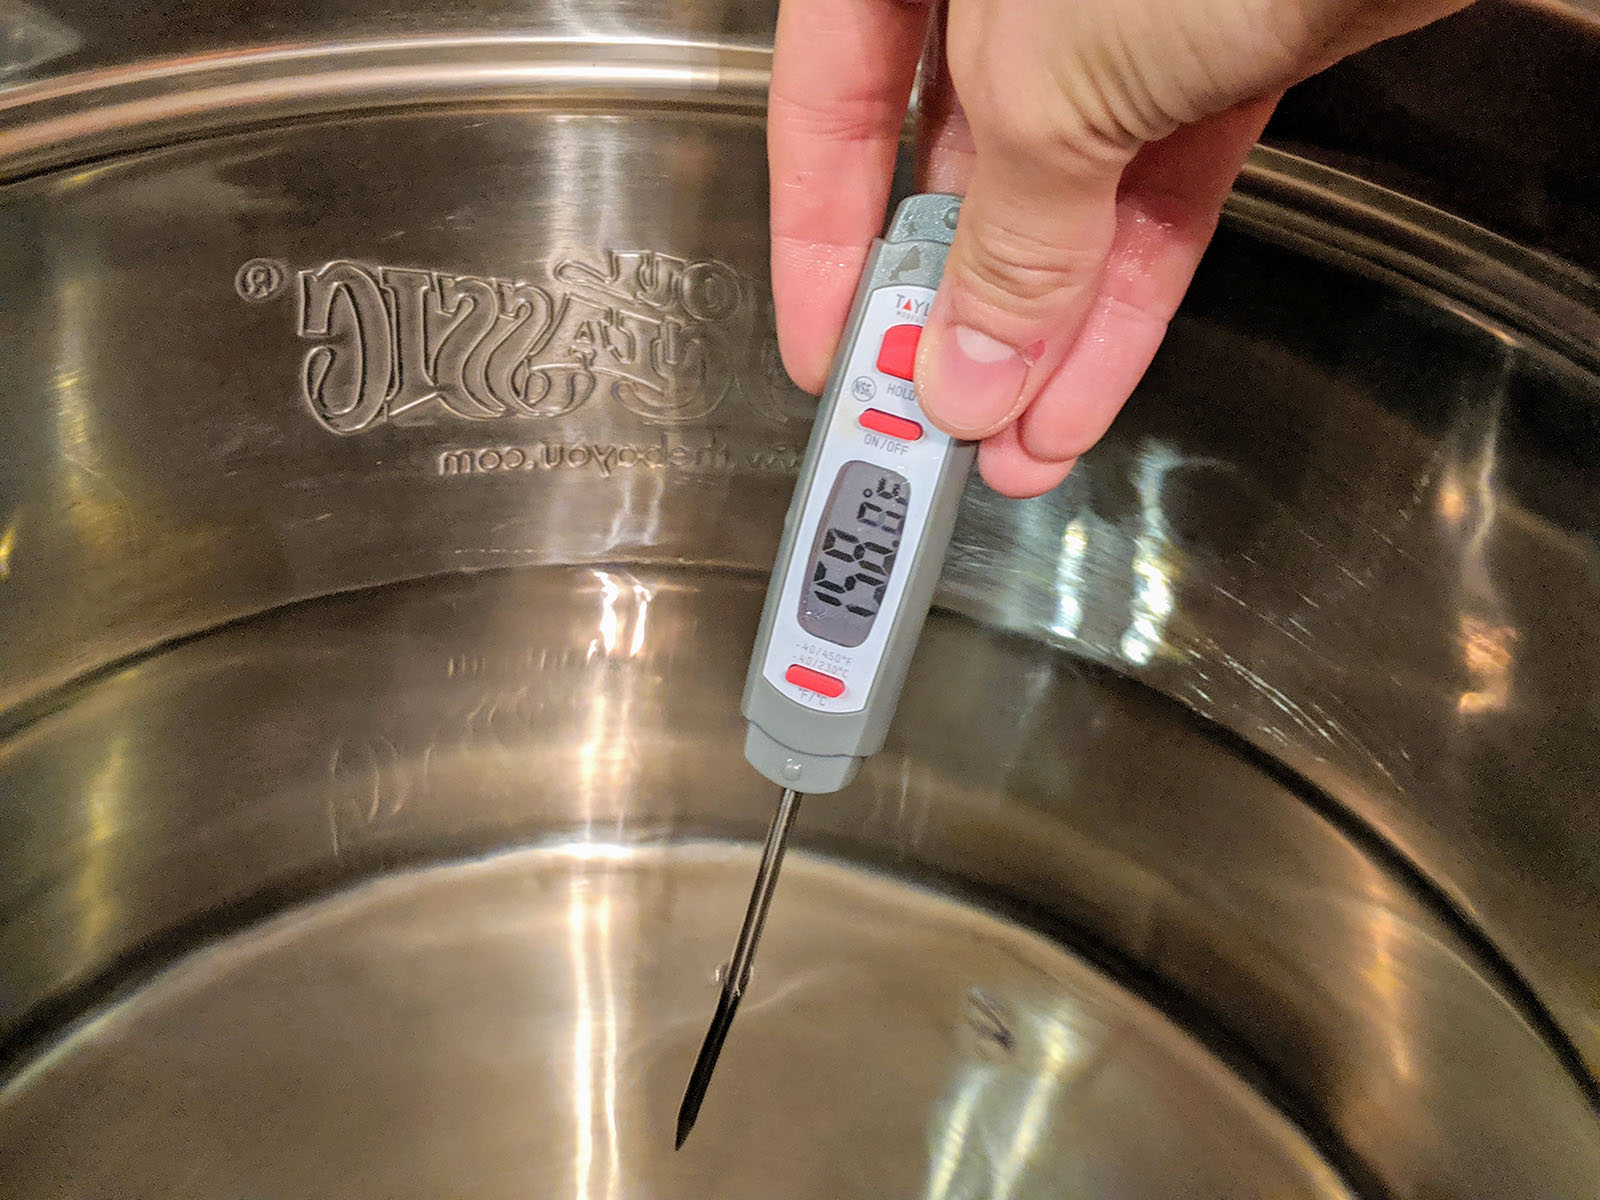
It’s obvious when your wort is boiling. But maintaining water at 155°F for steeping grain or cooling to 72°F before pitching the yeast requires precise measurement. Easy solution: get a thermometer!
Proper water temperature matters!
I was a fan of my floating thermometer that you can leave in the kettle while steeping the grain. But since I broke mine and haven’t replaced it yet, an electric instant-read thermometer has been working just fine. Any thermometer will do, find one that’s easy to use so you’ll remember to use it.
Hydrometer
Price: $17.
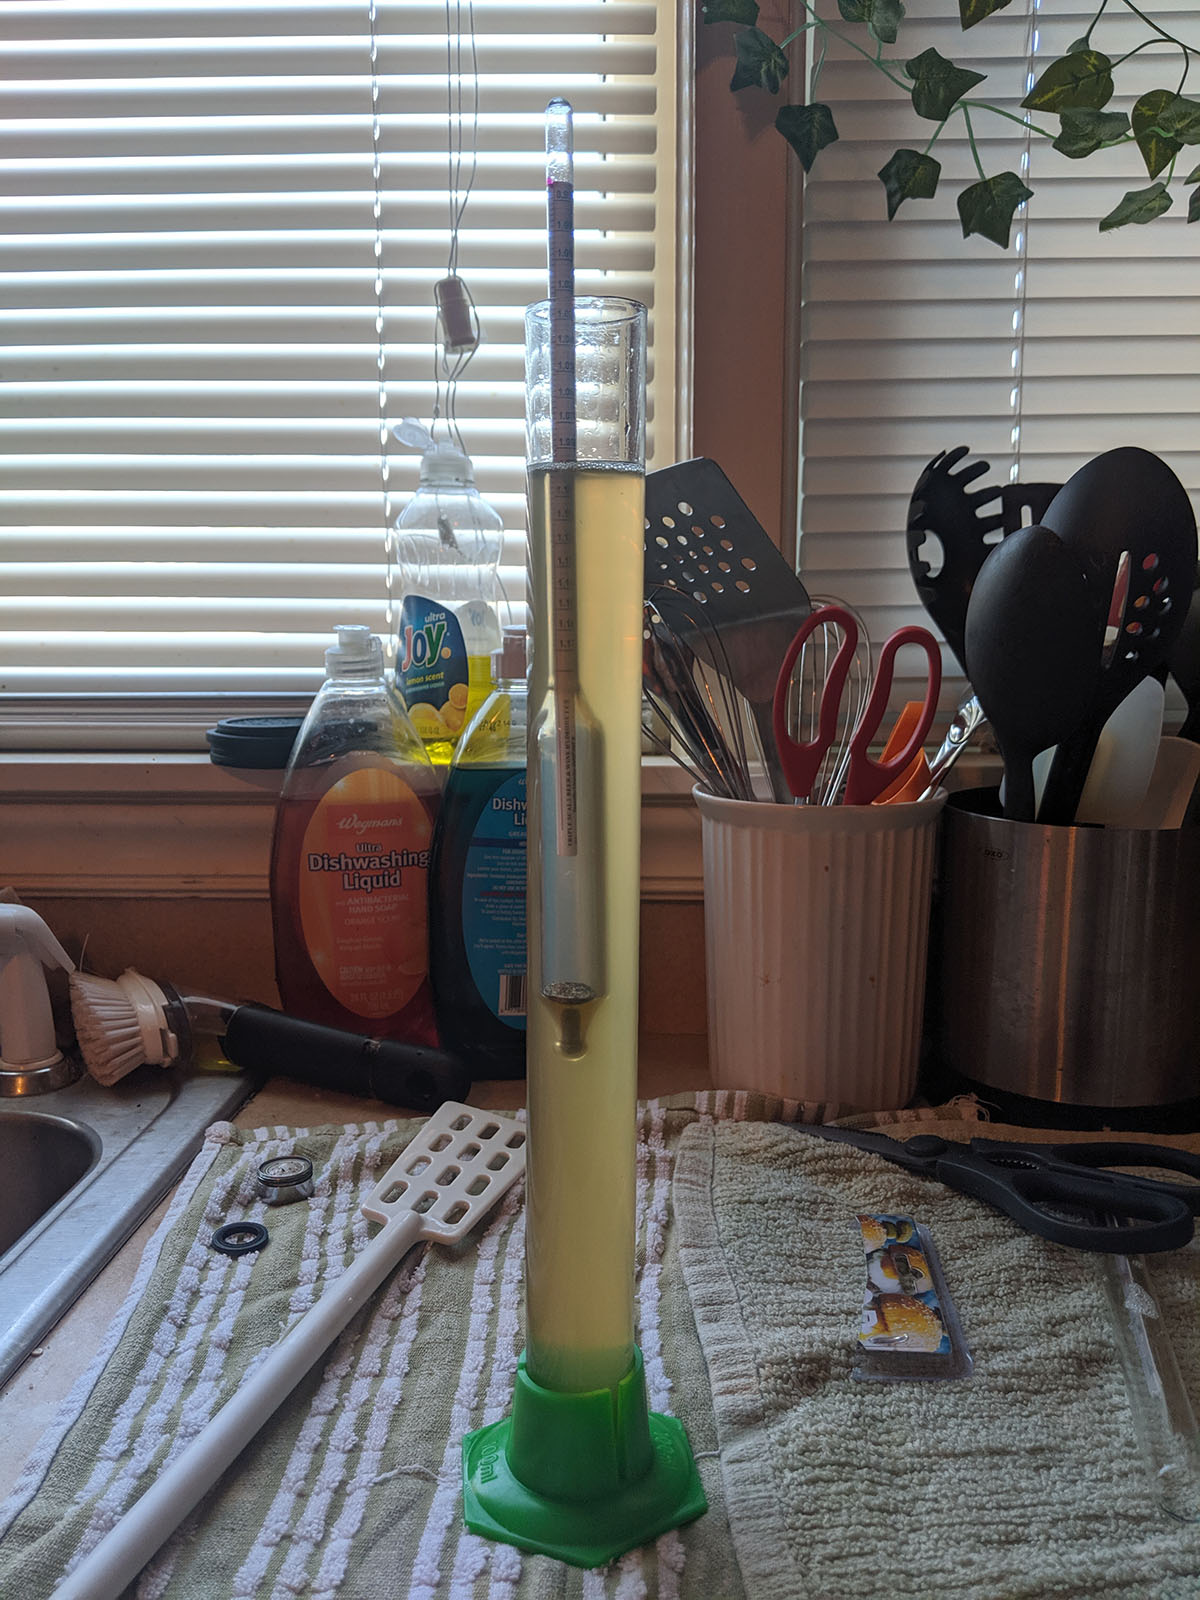
While not strictly required, it’s nice to be able to measure the fermentation progress of your beer. You want to measure the starting gravity of your beer so you know if you have the right about of sugar in your wort. And you want to measure the final gravity as well to confirm that your yeast converted the sugar to the expected amount of alcohol. Using your starting and final gravities you can calculate the ABV of your beer.
Always remember to check your gravity!
A hydrometer is an instrument for measuring the specific gravity of a liquid. To measure the gravitiy of your wort, submerge the hydrometer in a sample and read the value at the surface of the liquid. You’ll also want a tall glass test jar to facilitate your hydrometer readings.
Mesh Strainer
Price: $20.
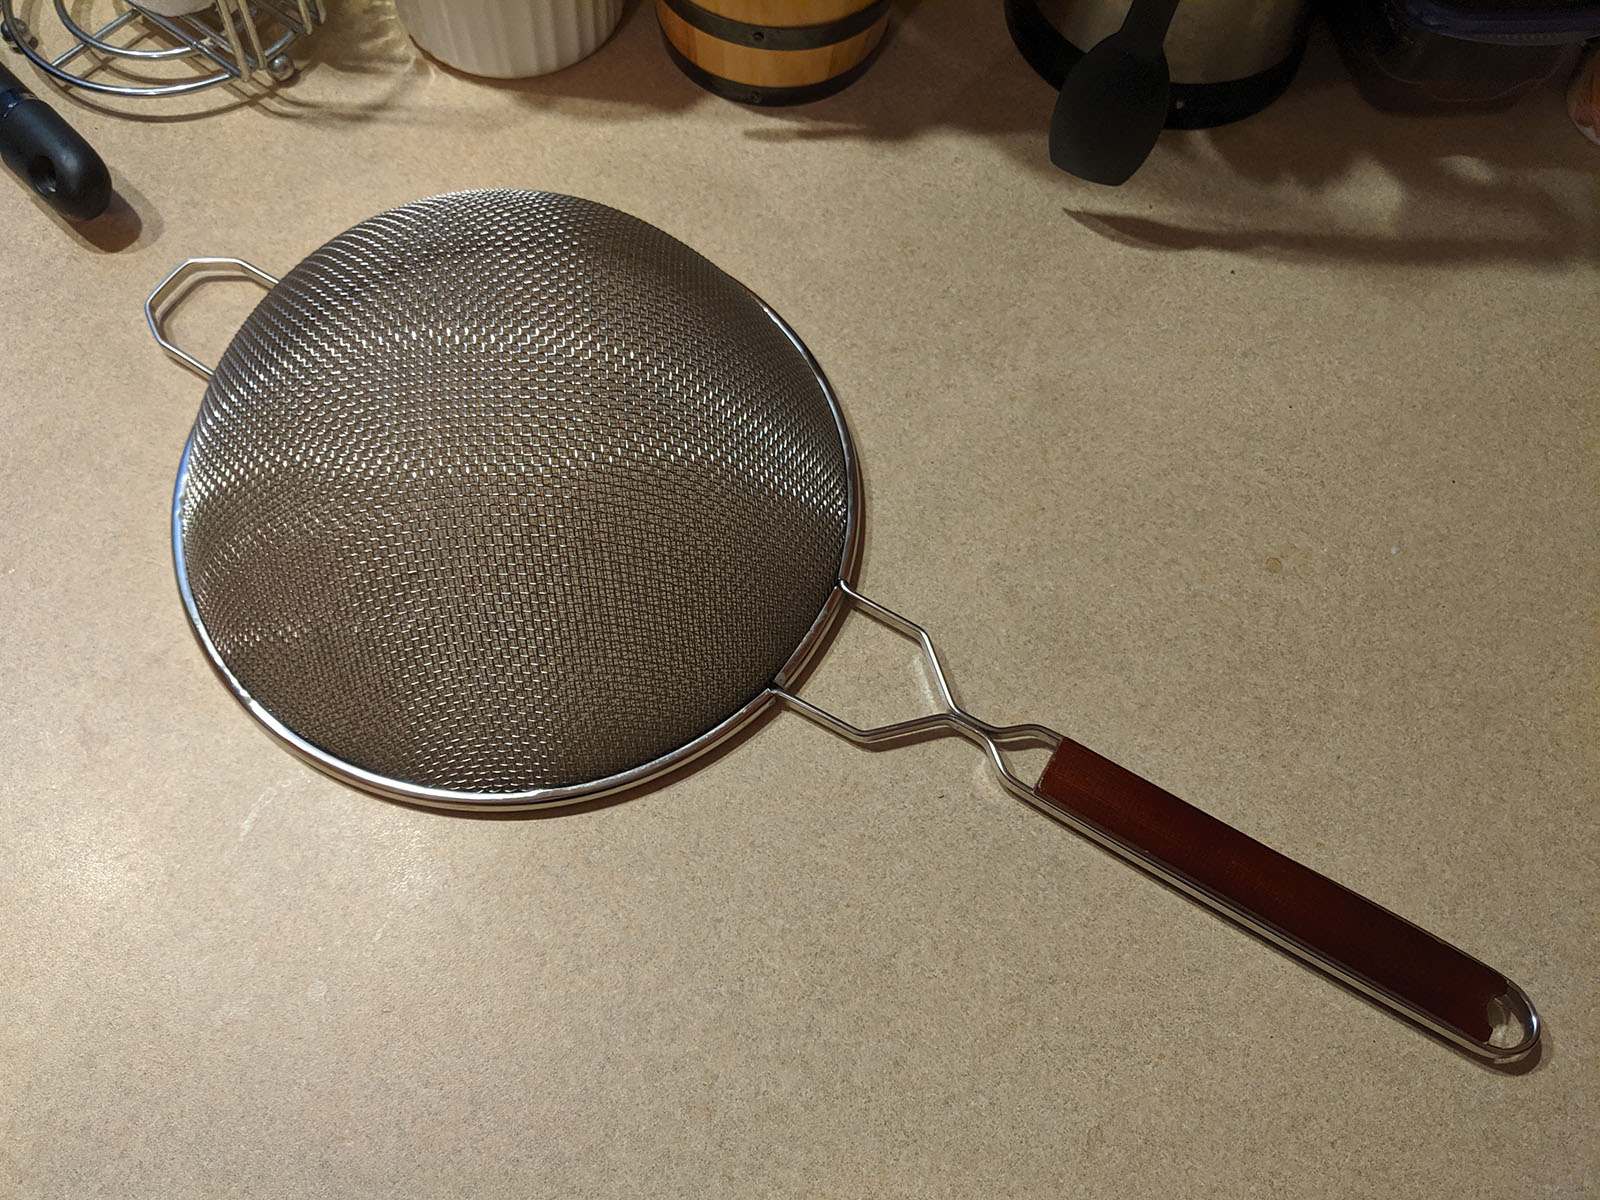
In my first ever beer, a pale ale, I added the loose hop pellets directly to my kettle. When the boil was done, I had no easy way of straining out the trub from the wort. So I spent over an hour straining one gallon of wort through coffee filters. It was an incredibly slow and wasteful process, and the beer was way too bitter because the hops got to steep for an extra hour.
Easily filter out hop trub with a mesh strainer.
Don’t make the same mistake I did and get yourself a mesh strainer. When you transfer your wort from the kettle to the fermenter, use it to strain out the hops and other solid additives. Better yet, steep your hops in a muslin bag or mesh bag to contain most of the trub, and fish it out immediately after the boil is over.
Grain Bag
Price: $5 and up.
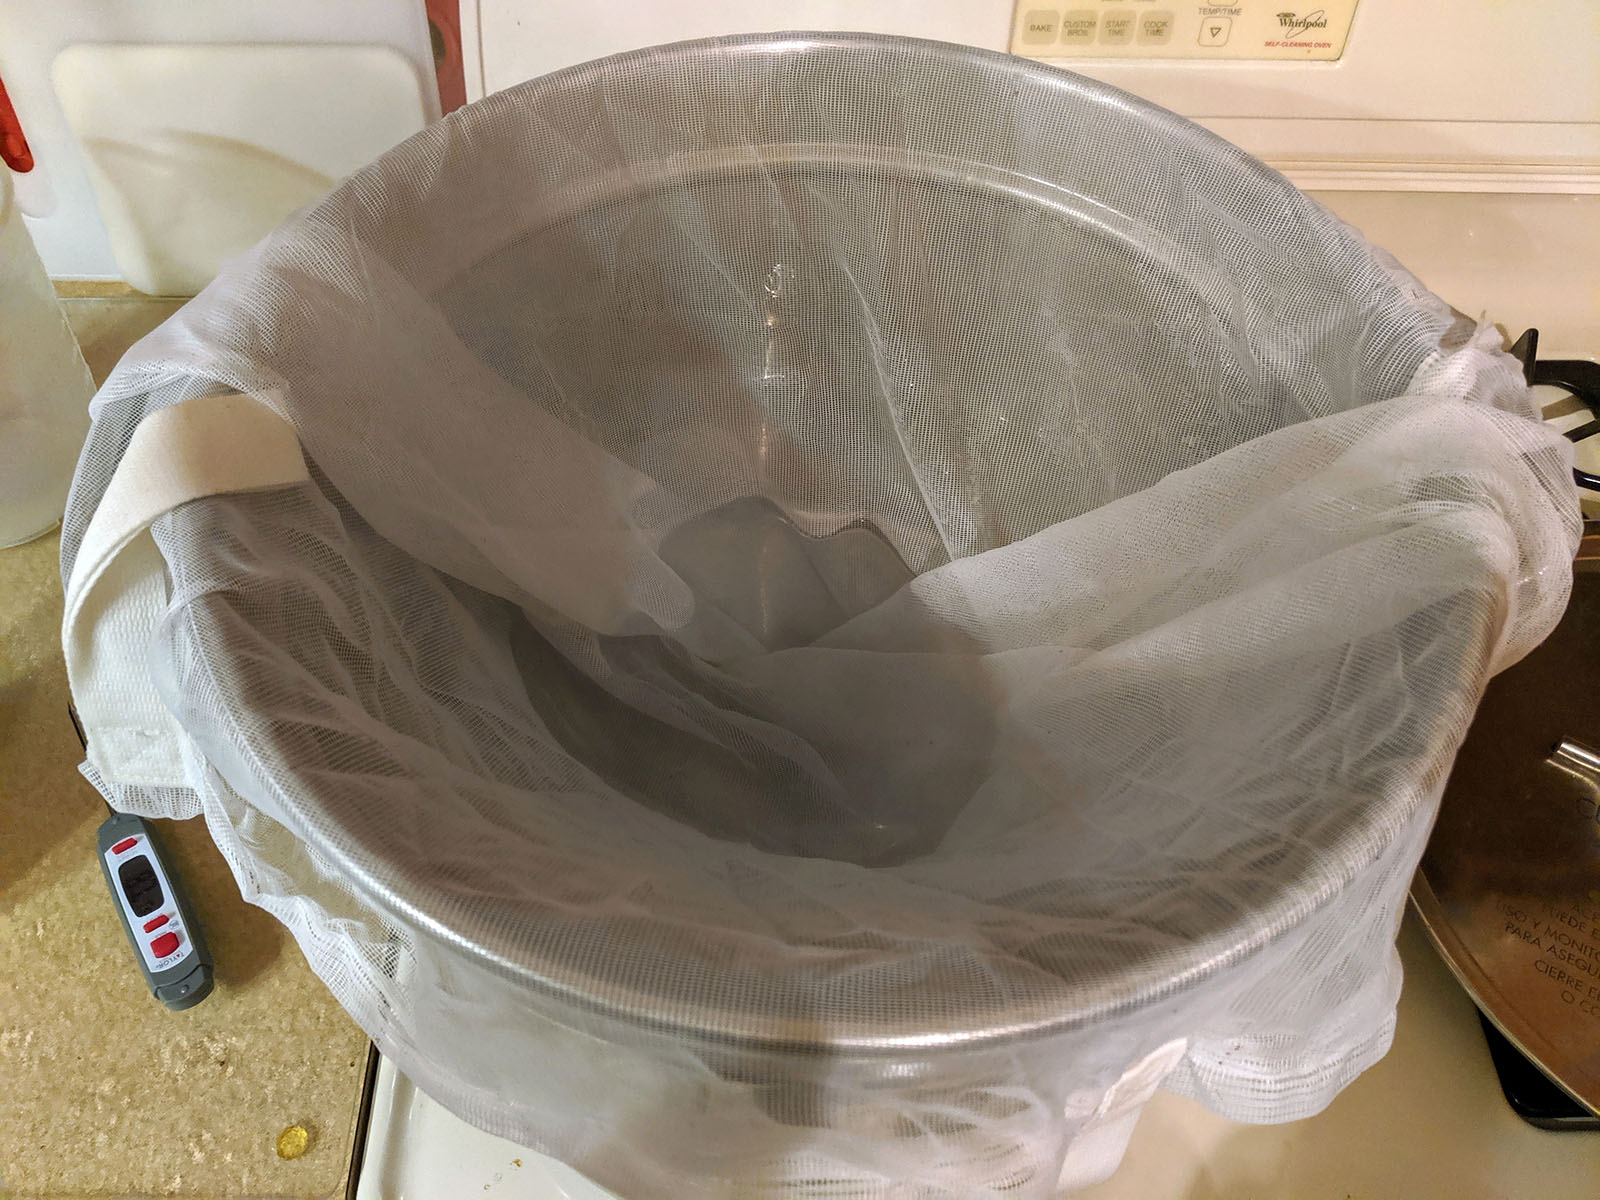
I didn’t know it by name until recently, but I’ve exclusively done “brew in a bag” for all my all-grain batches. Like the name implies, you brew by putting your grains in a bag and the bag in the kettle for steeping. This lets you do everything all in one kettle with easy cleanup in between steps. And if you really want to, you can still sparge after steeping by pouring water over the grain bag (more on sparging in another post).
Use a grain bag for easy steeping and cleanup.
For a long time I used large, disposable muslin bags when steeping grains. When I was done, I could throw the grains right into the trash. I recently switched to a reusable mesh grain bag to be less wasteful. Make sure to get one large enough for you largest all-grain batch, which may mean 10 or more pounds of grain!
Racking and Bottling
Price: About $60 all together.
You can get away with directly pouring the wort from your kettle into your fermentation bucket. But if you try that with a carboy or while bottling, you’ll just end up with beer all over your floor.
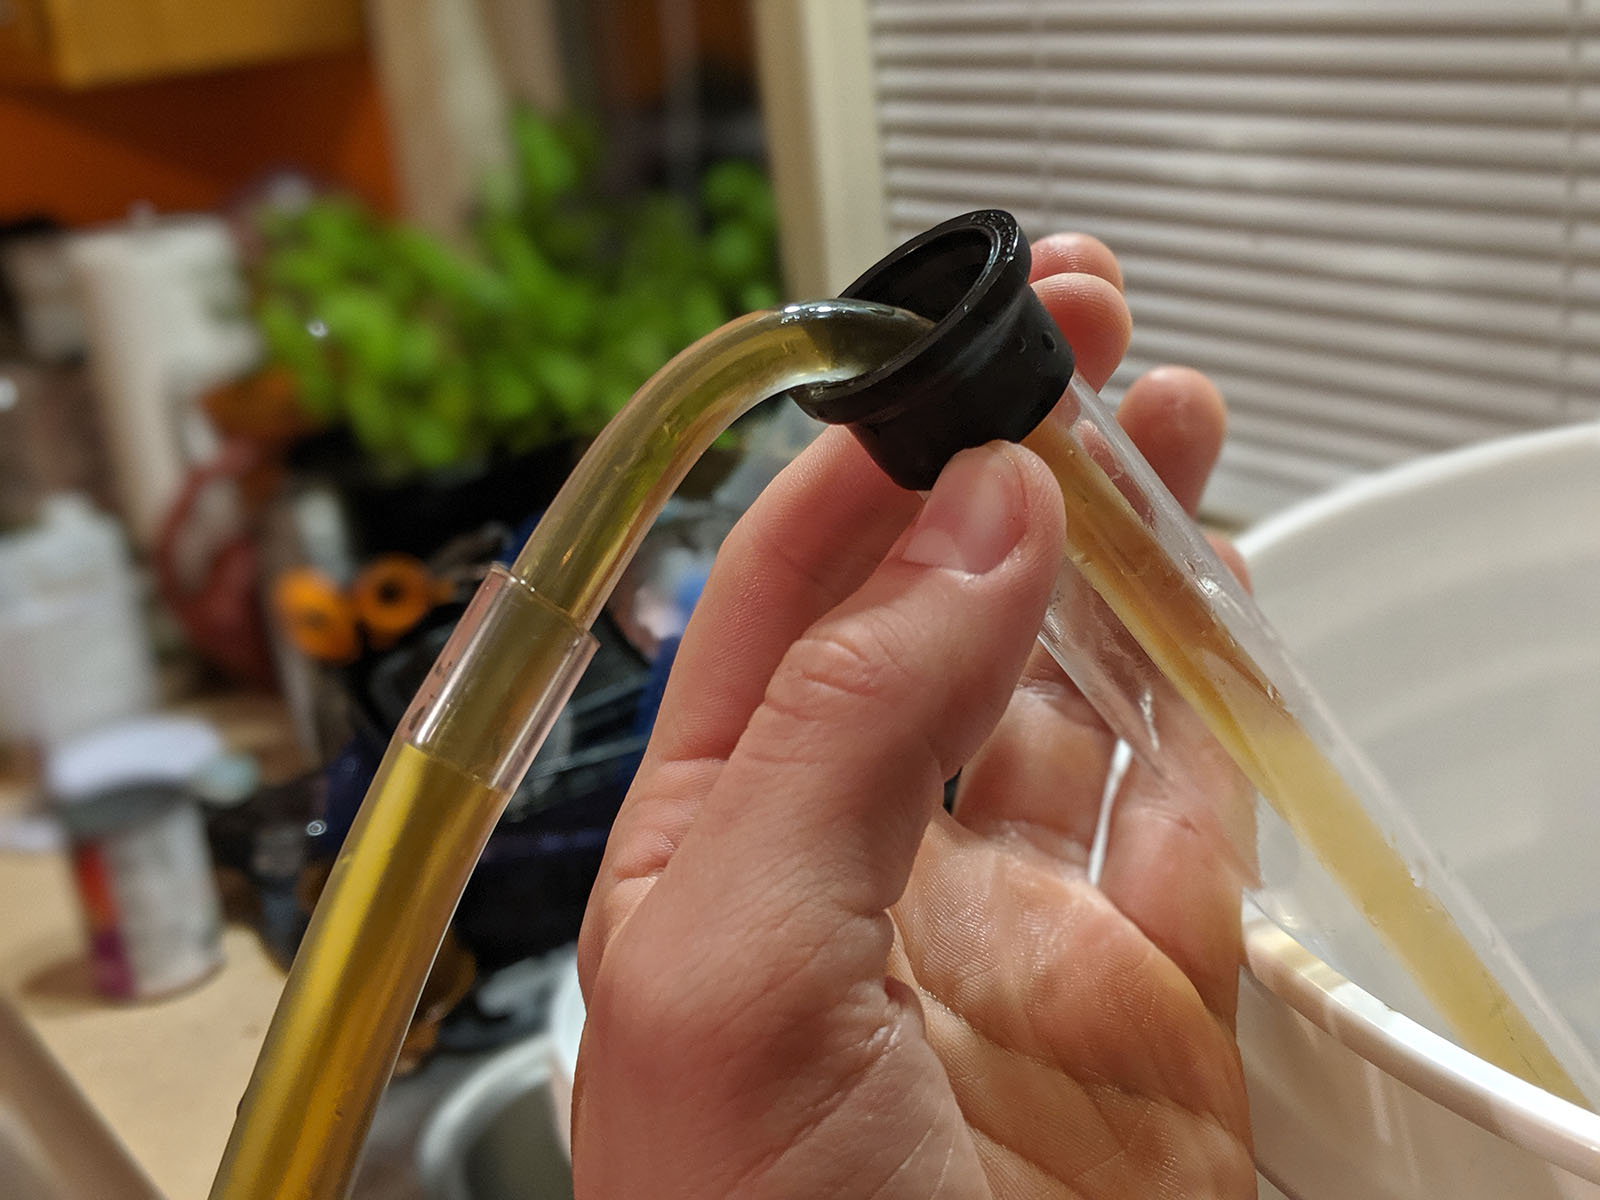
Siphon your beer between vessels to leave sediment behind.
For racking, a combination auto-siphon and racking cane will help you easily transfer the wort between vessels. Attach a silicon tube to the cane to guide the wort into its new destination. Make sure you get a tube that matches the size of your racking cane!
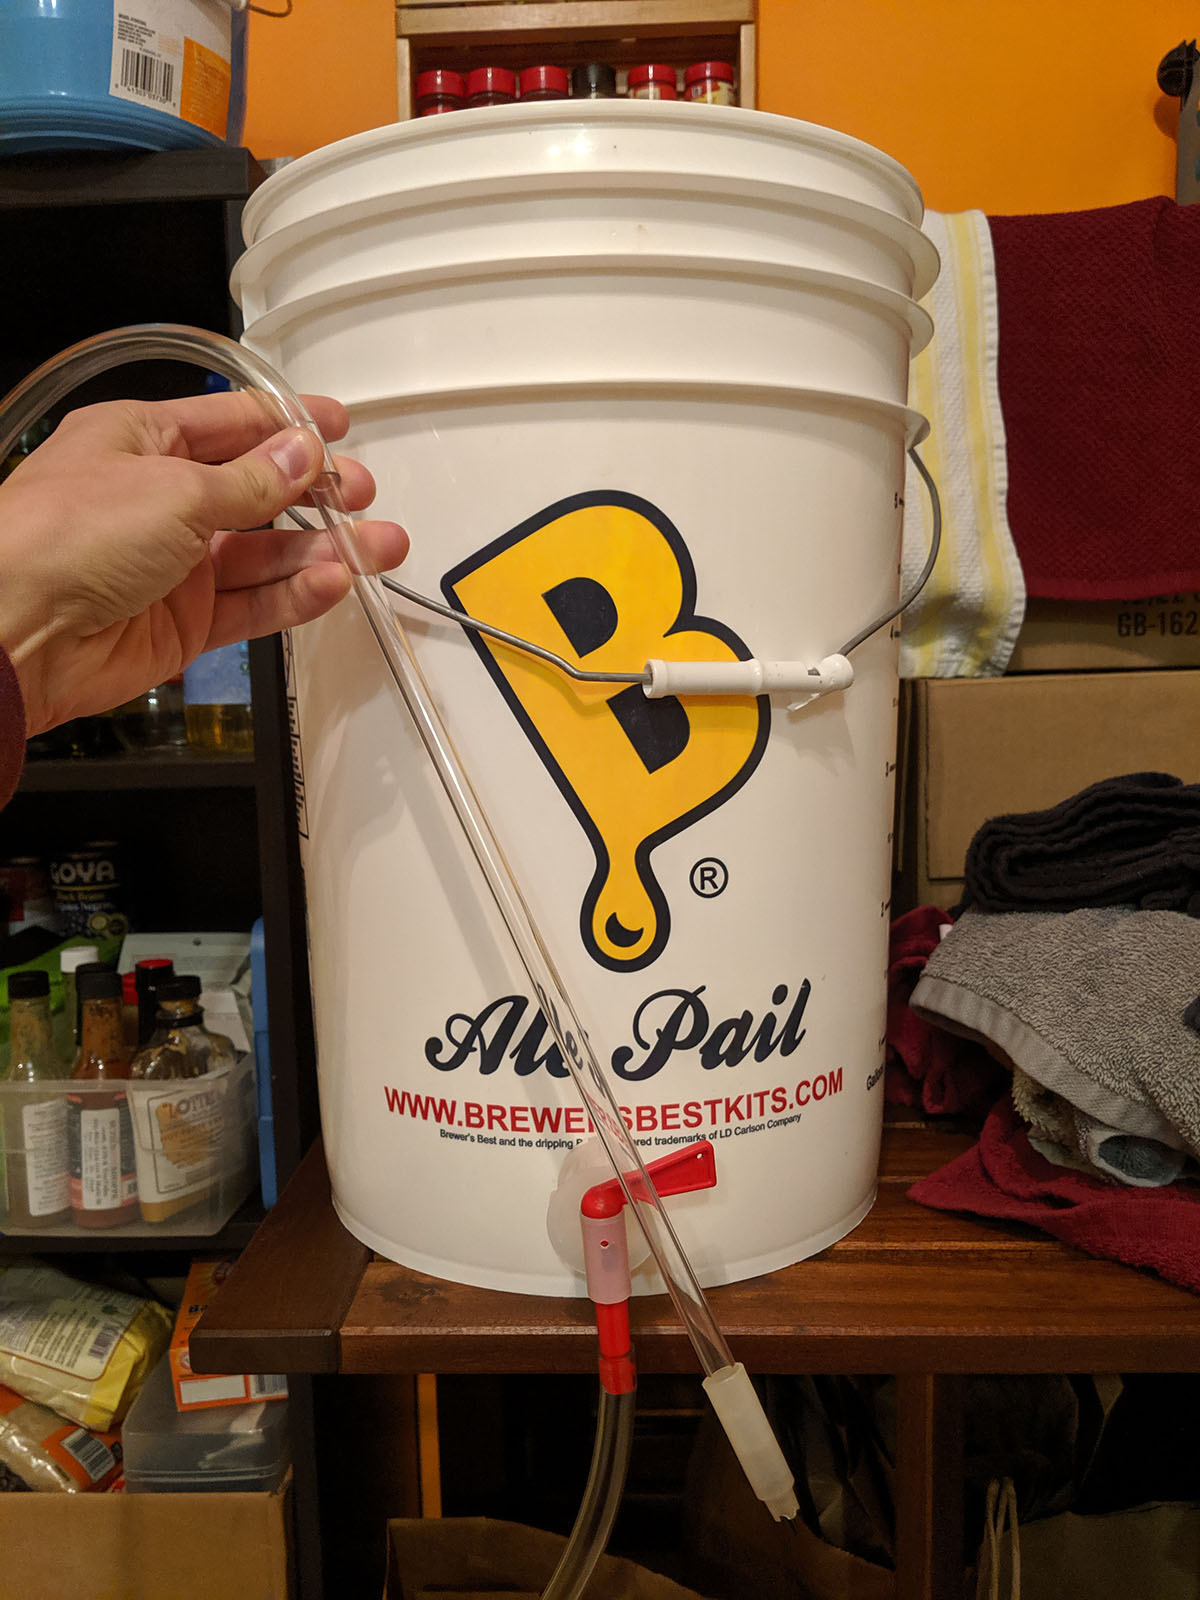
The full bottling setup: bucket, tubing, and bottle filler.
For bottling, I use a bottling bucket with a spigot on the bottom. I attach my silicon tube to the spigot and spring tip bottle filler to the tube so I can control the flow of beer while bottling. You’ll also want a bottle capper for pressing the bottle caps into place.
I don’t yet own a keg or any kegging equipment, but here’s what you need to know.
Sanitization
Price: $12-13 each.
As I’m sure I’ll say over and over again on this site: 👏 always 👏 sanitize 👏 your 👏 equipment! Before brewing or bottling, I use Star San on all of my equipment. It is a surface sanitizer that is food safe and doesn’t require thorough rinsing at proper dilution. Let your equipment sit in a bucket full of water and Star San solution for a few minutes before use, and keep the bucket on hand to re-sanitize as you go.
Be safe: sanitize before, during, and after brewing.
After brewing or bottling, use PBW to more thoroughly clean your equipment. It’s especially good for removing caked on residue, such as sediment on the side of a bucket or carboy. Let your equipment soak in it overnight after brewing and then rinse clean. By cleaning after each batch and sanizing right before brewing, you’ll keep your equipment in good shape and avoid a wasted batch due to contamination.
Wort Chiller
Price: $60 and up.
This has probably been the most useful addition to my brewing setup since I got myself a mesh strainer. When I first got started brewing I used an ice bath in the sink to cool my wort after boiling. This could take quite a long time, especially for 5-gallon batches, and if you didn’t filter out the hops and spices first they could adversely affect the flavor of the beer.
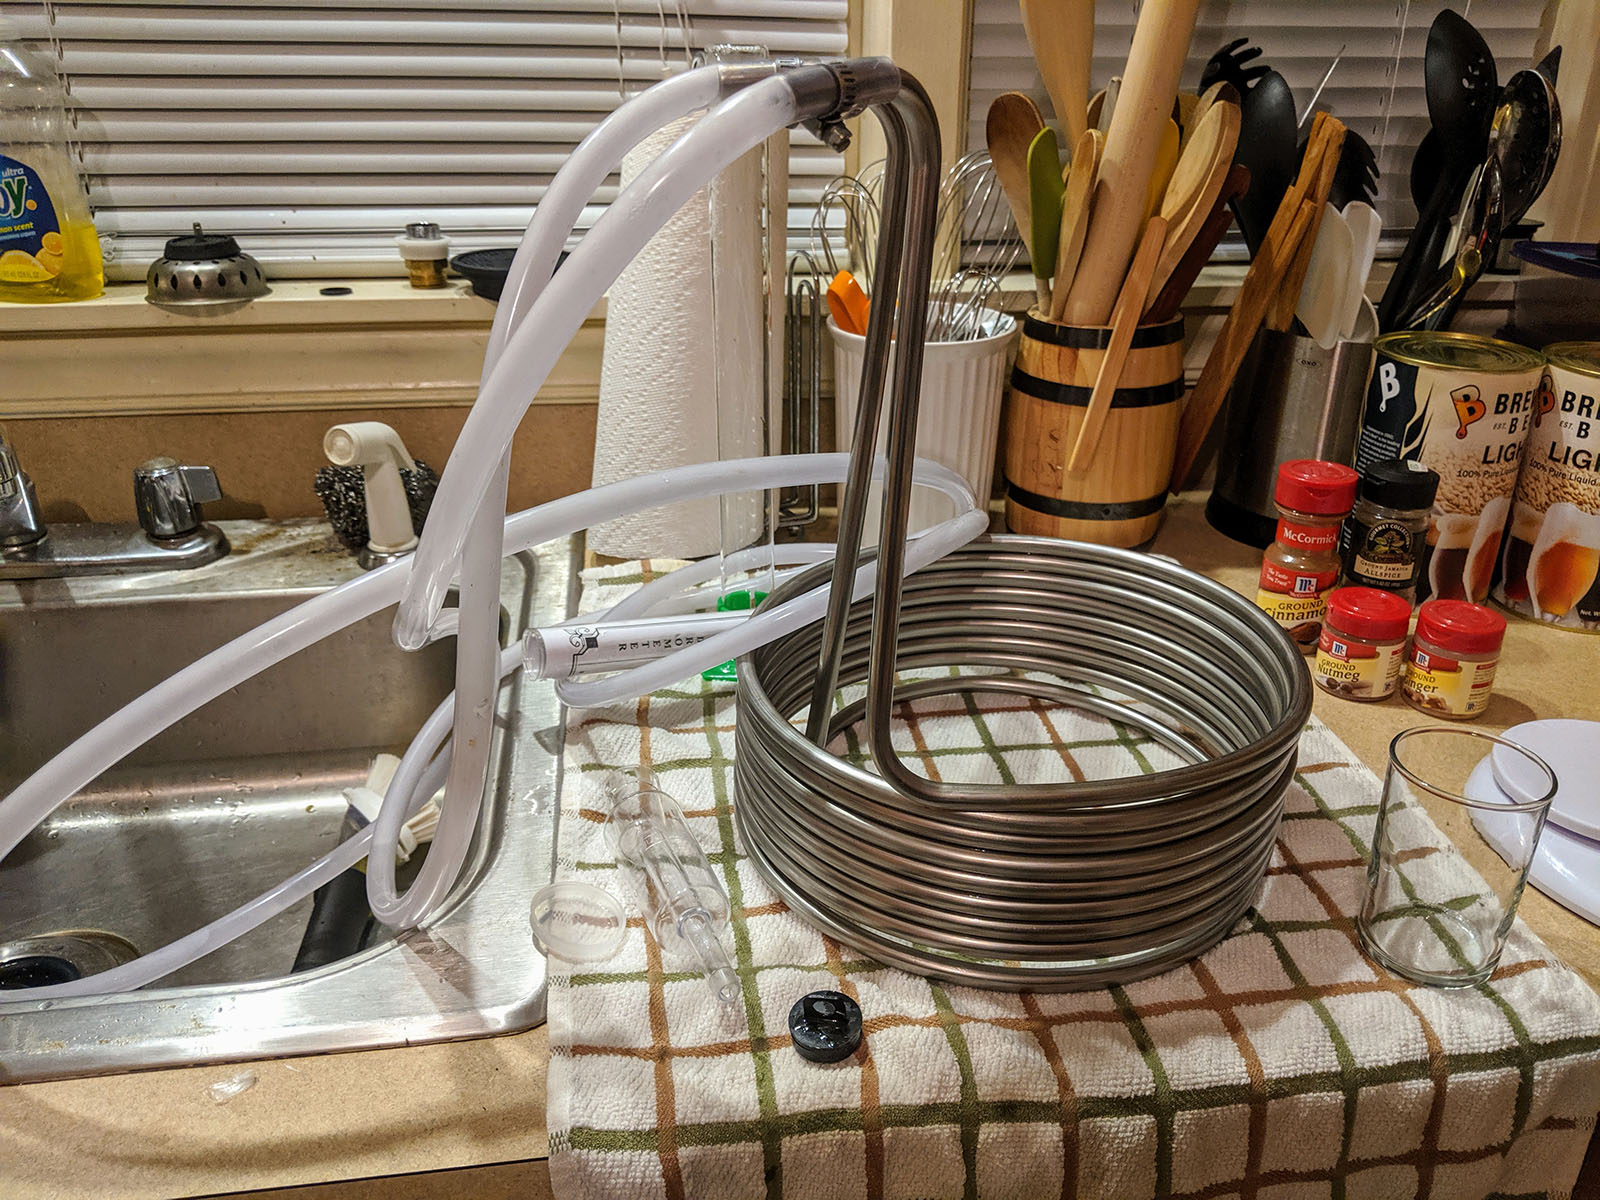
Usa a wort chiller to speed up your brew day.
Enter the immersion wort chiller. It’s a coil of metal tubing that you submerge in your wort. Run cold water through the coil rapidly cool the wort to an appropriate temperature for pitching the yeast. I find that if I use the wort chiller and give it an occasional stir, I can go from boiling to 72°F in 15 minutes or less. I also had to get a faucet to garden hose adapter to connect the wort chiller to my kitchen sink.
Electric Scale
Price: $7 and up.
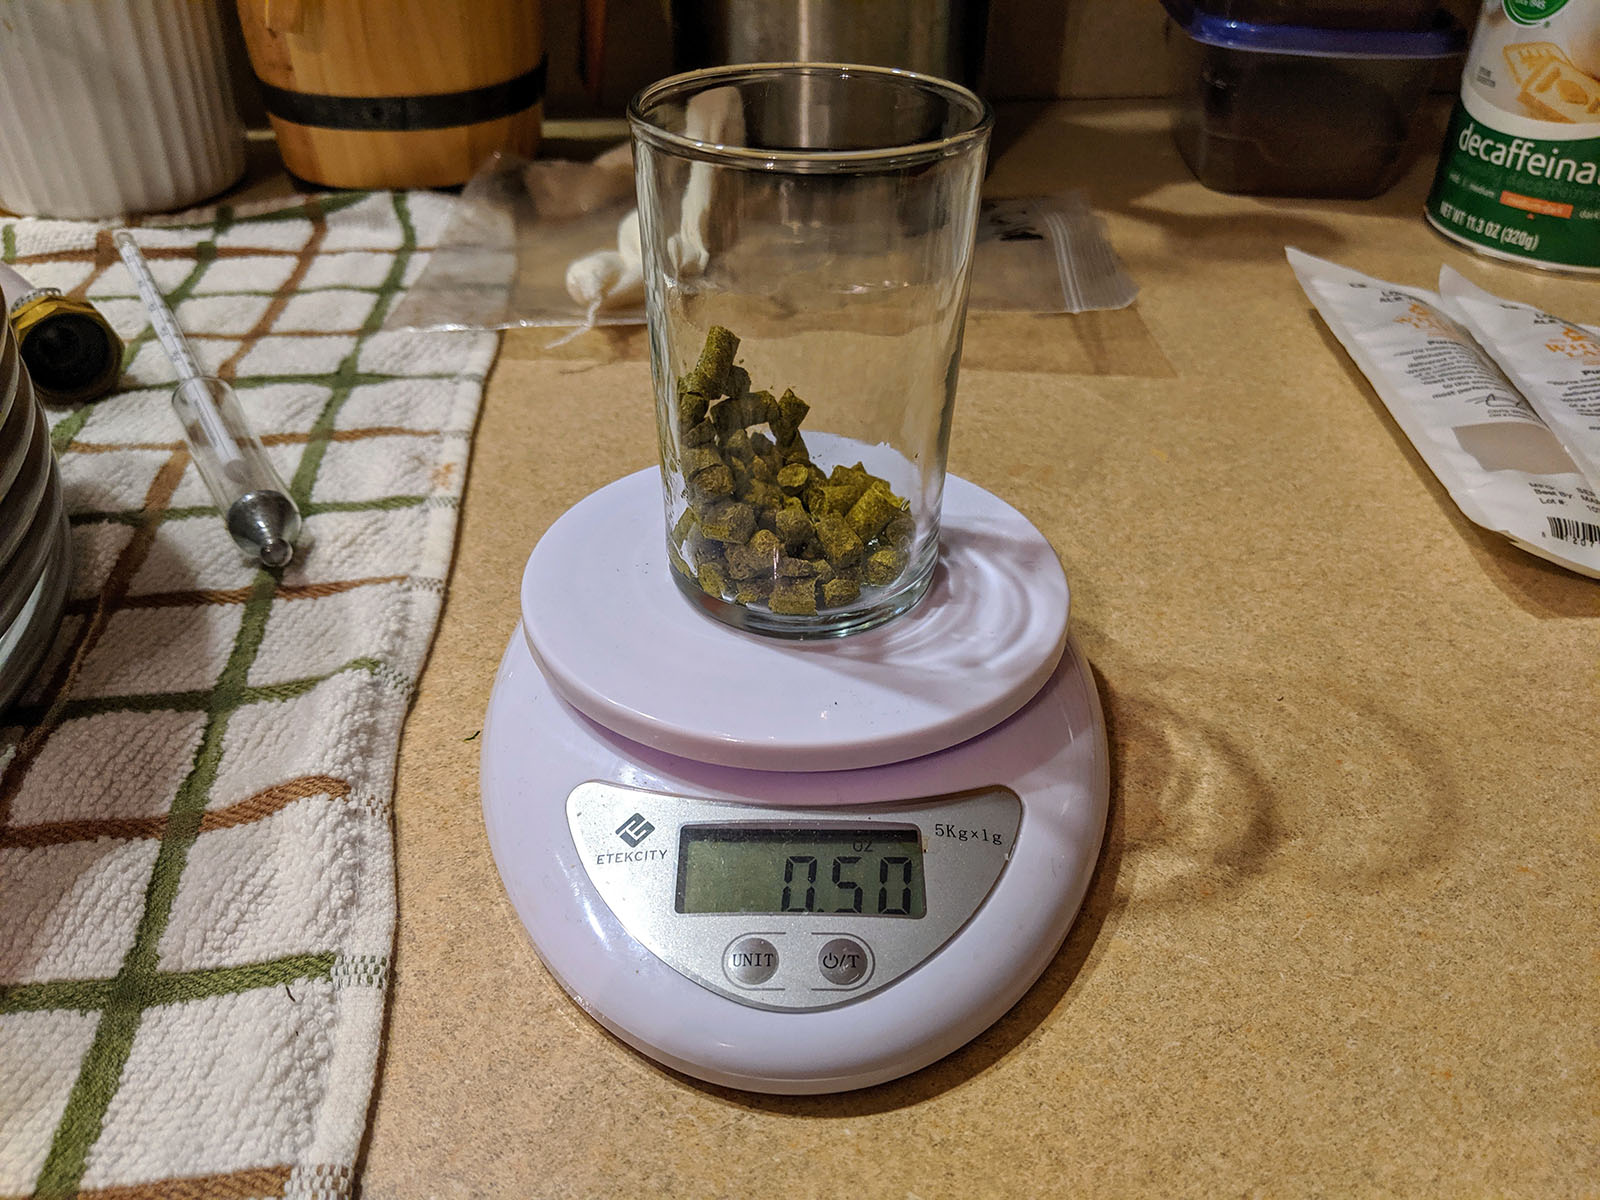
Not all ingredients can be measured out ahead of time. Most hops at my local homebrew store come pre-packaged in 1oz bags, or priming sugar in 5oz bags. If I don’t need the full amount, I need to measure out the exact quantity at home. A small digital food scale gets the job done, allowing you to accurately measure all of your ingredients right before you brew.
A digital scale for measuring hops, spices, and more.
Everything Else
- Measuring cups for measuring starting water volume ($12 or so)
- Brushes for cleaning carboys ($6 and up)
- Mash paddle and spoons for stirring ($8 and up)
- Bottles for every batch ($16 for 24 bottles)
- Bottle caps for every batch ($3 for 120 caps)
Subscribe via RSS

