My Home Recording Setup
by Ben Centra
Music has always been a big part of my life. Over the last year or so, I’ve been recording original music in my home “studio.” It’s a minimal setup that enables me to record high-quality vocals and guitar all from the comfort of my bedroom.
There are already multiple guides online for building a cheap home recording studio (see Pitchfork’s and The Next Web’s great examples). Here I’ll quickly rundown what’s been working for me so you can get an example of a full setup. I’ll also propose some even cheaper alternatives I’ve found for the budget-conscious.
Throughout the article I’ll post links to buy gear. I don’t get paid for affiliate links, so consider saying “thanks” by buying my music on Bandcamp, or leave a comment below if this was helpful!
Gear Overview
Before going over each piece, here’s my entire recording setup with approximate prices:
- Apple Logic Pro X ($200)
- Audio Technica AT2035 Condenser Mic ($150)
- 2x AKG P170 Condenser Mics ($100 each)
- Focusrite Scarlett 2i2 ($150)
- MAudio KeyRig 49 USB MIDI Keyboard ($80)
- Sony MDRV6 Studio Monitor Headphones ($80)
- Pop Screen ($10)
- 3x XLR and 1/4” Cables ($10 each)
- 3x Amazon Basics Mic Stand ($20 each)
Total Cost: $960
$960 is no small sum, but it’s also not unreasonable for audio production. Not all of these things were acquired all at once. I’ve had the keyboard and headphones since college, and the rest I bought over the last two years. But between the new gear and working on more songs, I’ve dramatically improved the sound of my recordings.
And of course, you’ll have to bring your own computer and instruments! Any decently powered laptop or desktop (perhaps with an Intel i-series processor or similar) will suffice.
Microphones
I use microphones to record two instruments: my acoustic guitar, and my voice. For vocals I use an Audio Technica AT2035. It is a large diaphragm condenser microphone that cleanly records my voice. It has a cardioid polar pattern, which means it won’t pick up much noise from the side and back. I record in a quiet space and I haven’t needed foam pads or anything to cancel out noise or reverb with this mic. You do still need a pop screen to prevent harsh, breathy syllables from blowing up your levels! For the price, it offers professional quality on a budget.
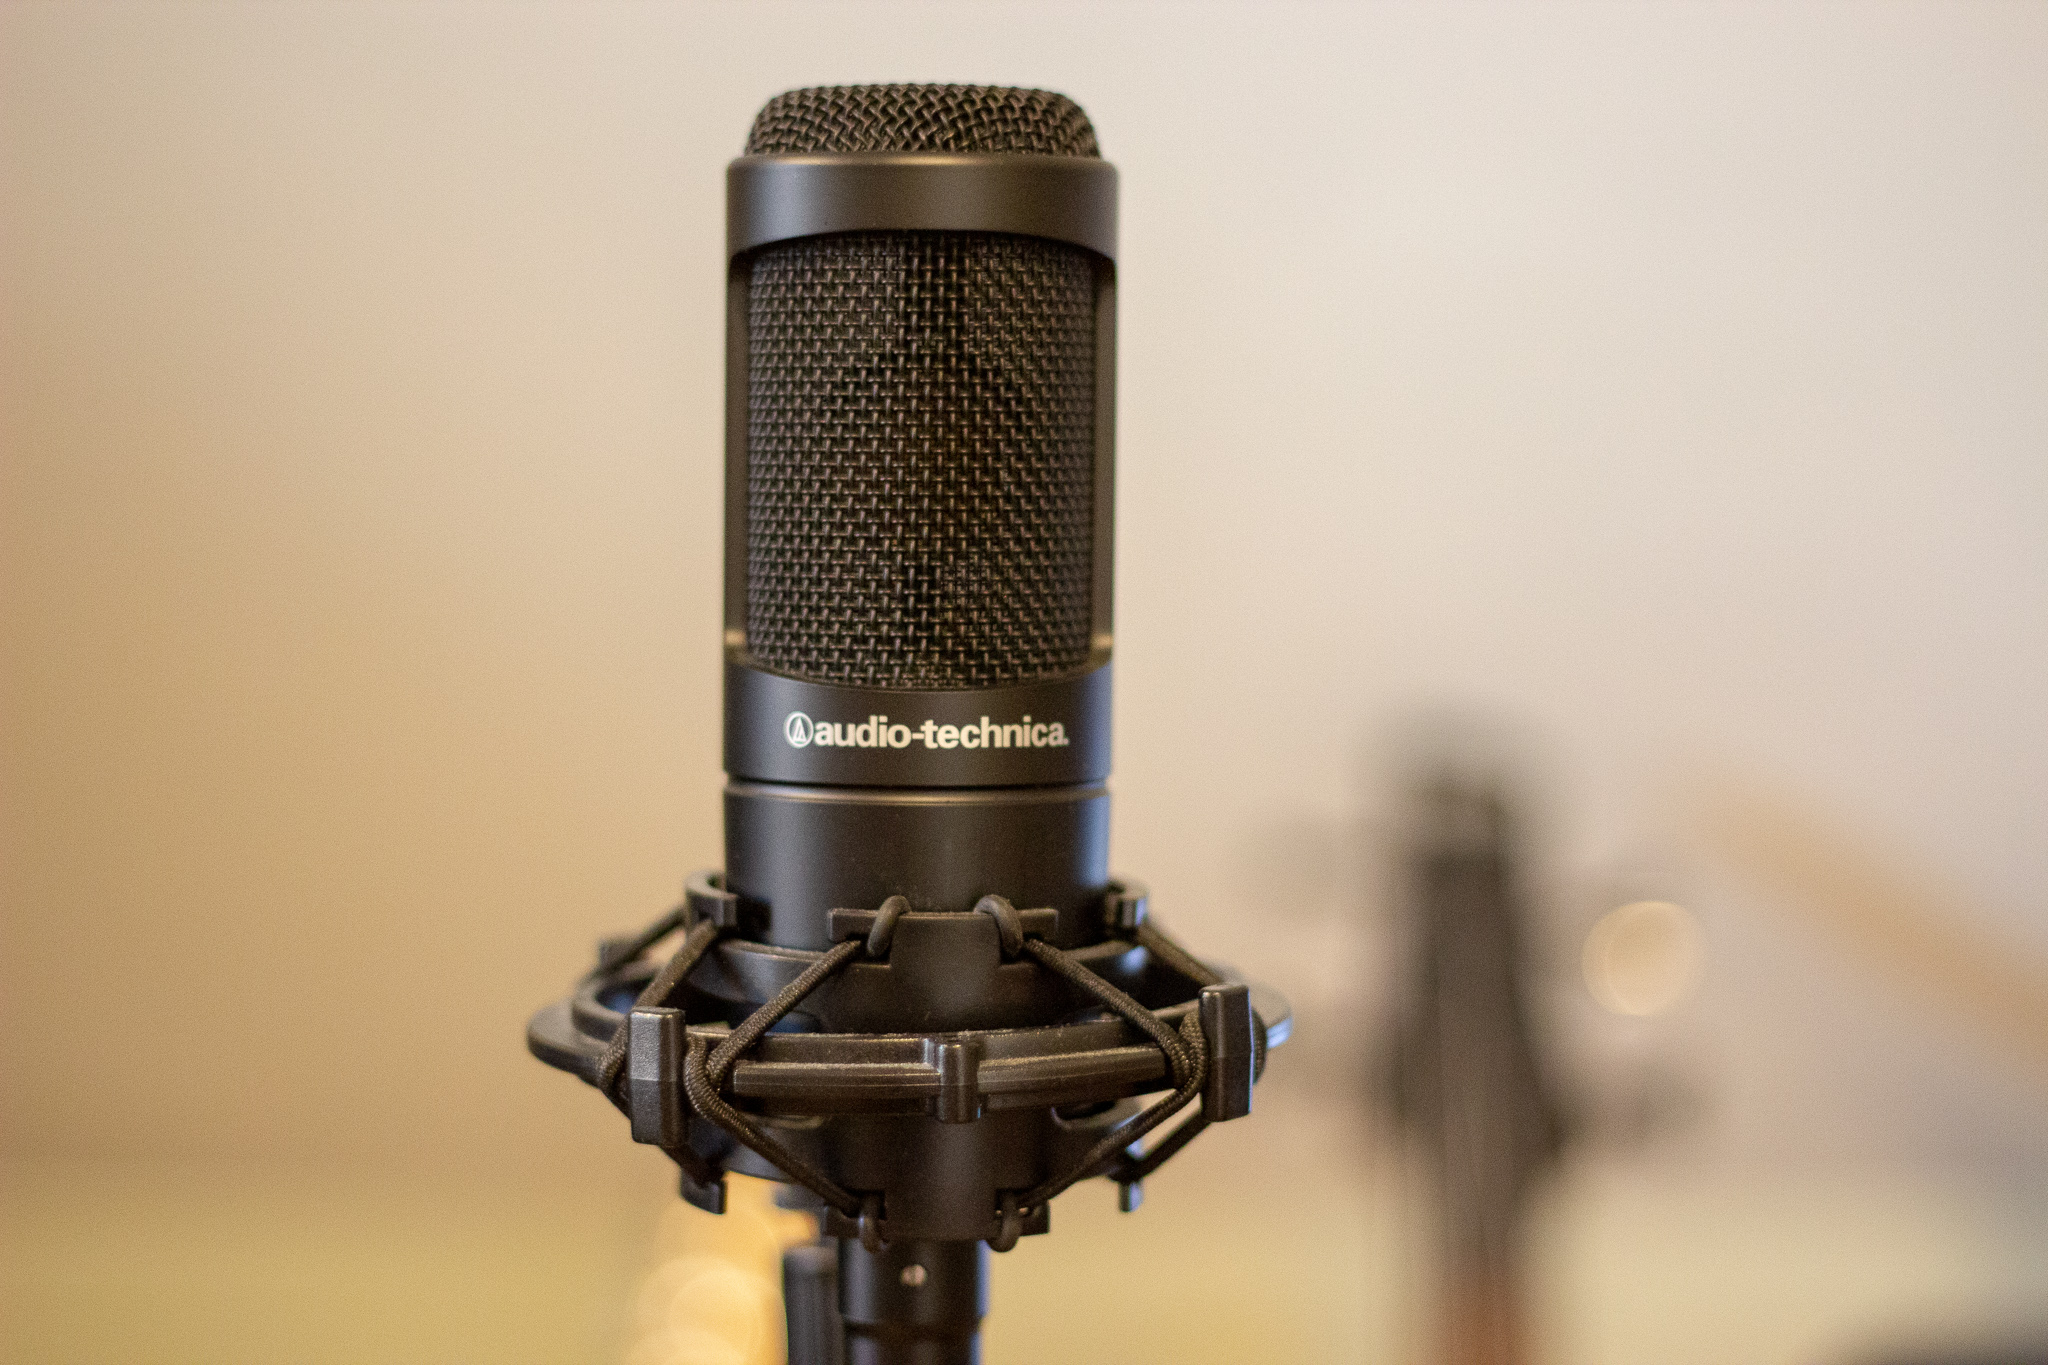
Audio Technica AT2035 Large Diaphragm Condenser Microphone
For my guitar I use a pair of AKG P170 small diaphragm condenser mics. There are many techniques for recording acoustic guitar. Lately I’ve been using the “spaced pair” technique: I place the two mics about two feet apart, each facing inward towards different parts of the body and fretboard. I record each mic to a separate track, allowing me to separately adjust the levels and EQ of each track for an ideal sound. I’m happy with the results of spaced pair micing so far, but I bet there’s still a better way out there!
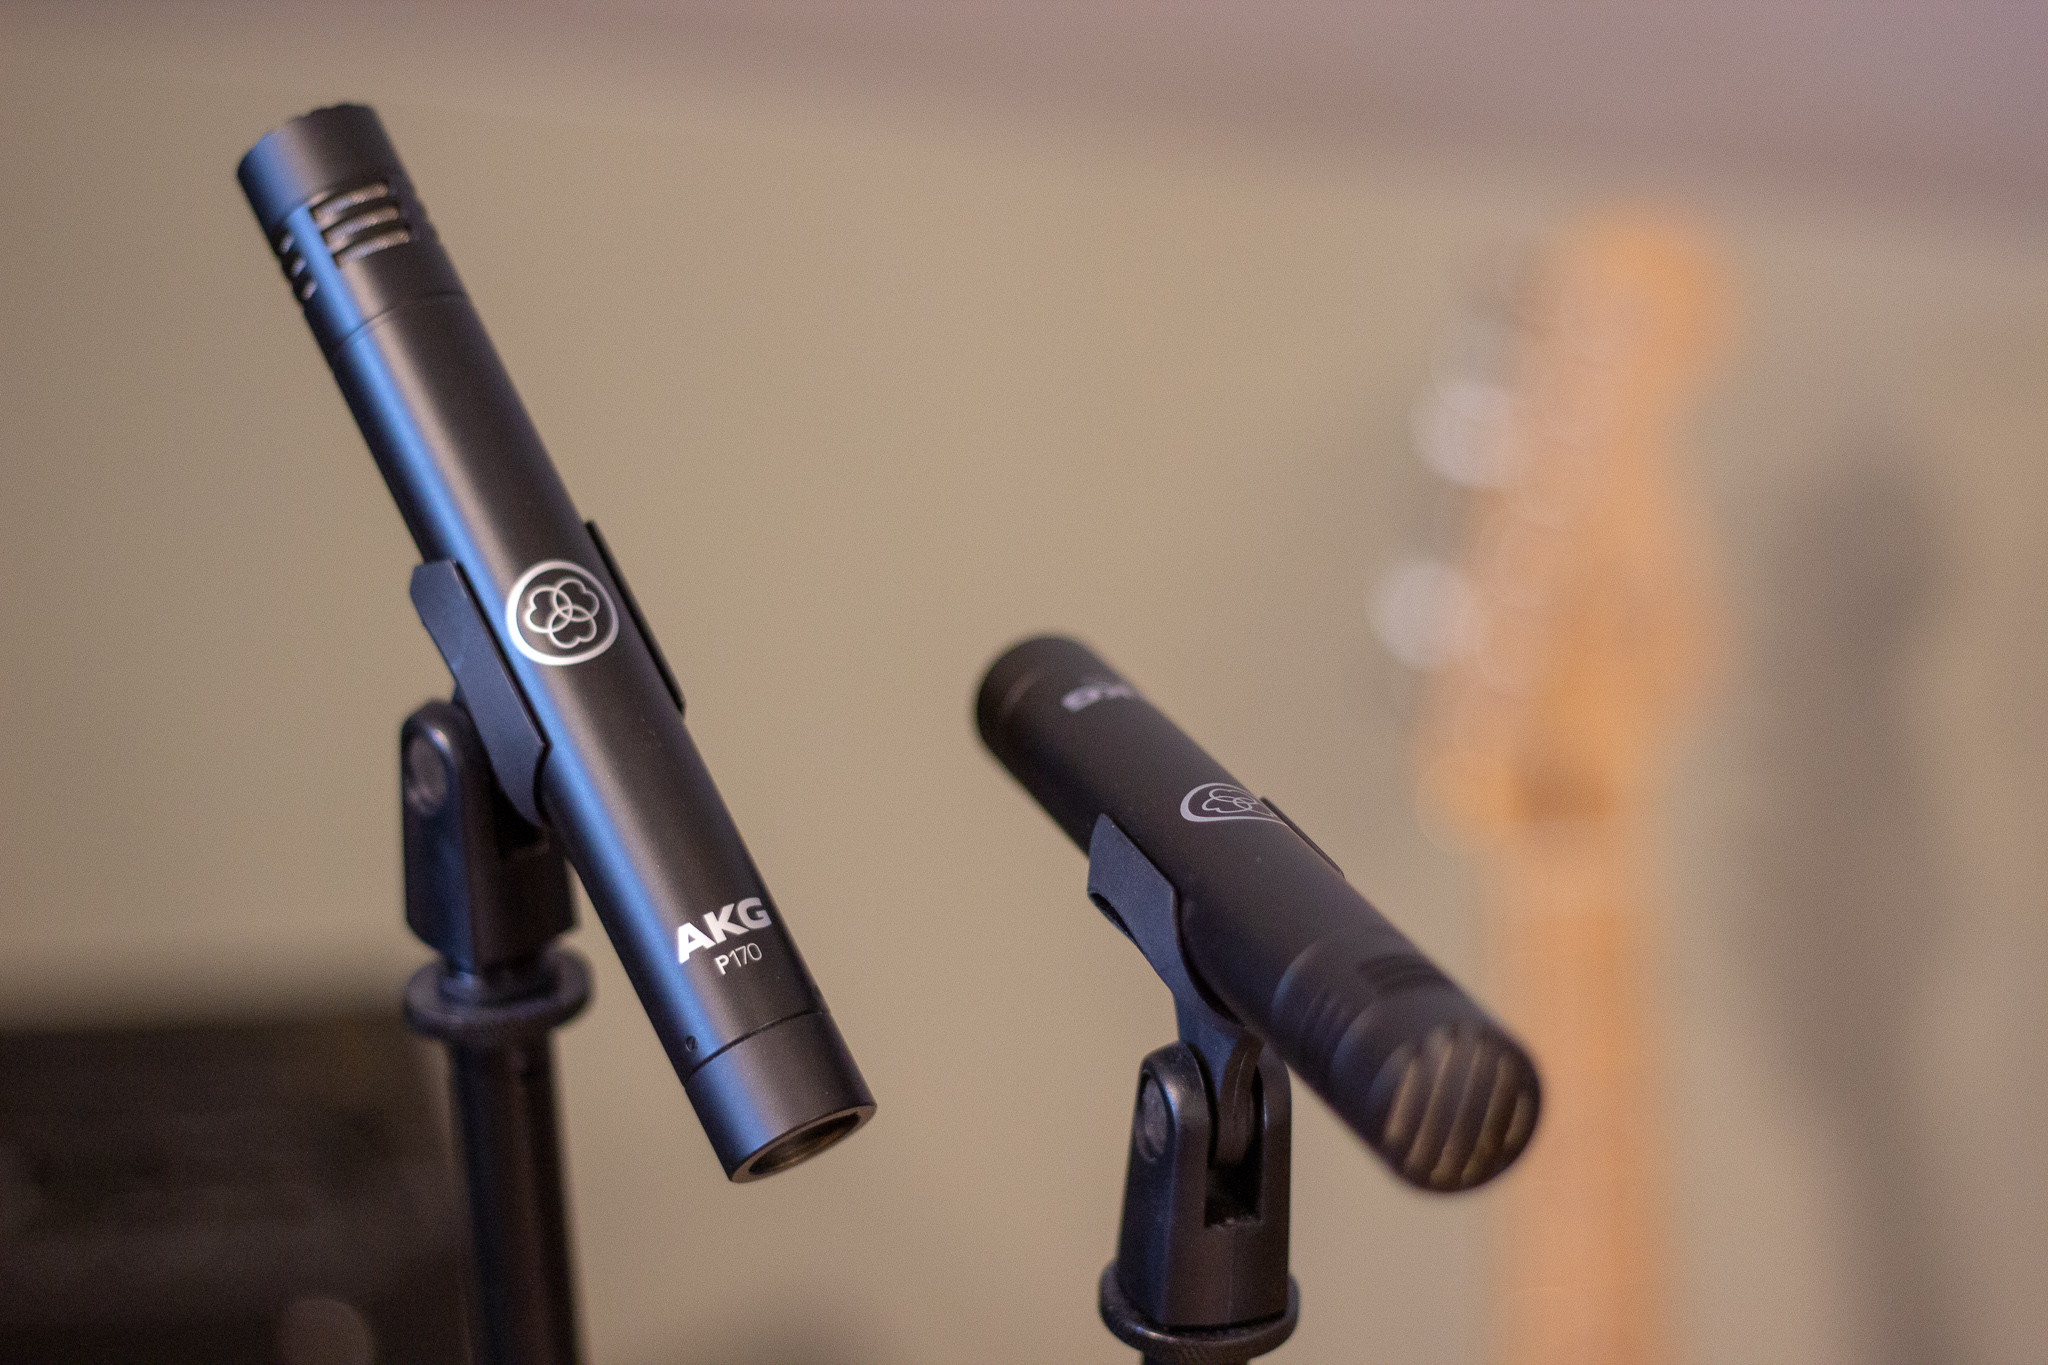
AKG P170 Small Diaphragm Condenser Microphones
If you’re looking for slightly cheaper or more general purpose options, just about everyone recommends the Shure SM57 (for instruments) and SM58 (for vocals). In searching around I’ve also found the cheaper MXL 770 and MXL 606, but haven’t tried them myself. If you don’t want to buy 3 mics at once, you can record both vocals and guitar with a single large diaphragm condenser mic (likely separately). But at least one quality microphone is a must to get beyond that “demo” sound.
For a much bigger list of mic options, check out this article.
Audio Interface
Now that you have microphones, you need something to actually record with. A USB audio interface with built-in preamp is the right device for the job. There are many options here with varying levels of sound quality, inputs and outputs, and other features.
I recently upgraded to a Focusrite Scarlett 2i2 and am incredibly pleased with it. It has two “combo” inputs (either XLR or 1/4”) for recording from microphones and my electric and bass guitars. I rarely record two instruments at once, but that option is open. Usually I’m doing either one guitar or mic, or two mics for just my acoustic guitar. It has a phantom power switch necessary for powering condenser microphones. And it connects to your computer via USB for easy use with your DAW of choice.
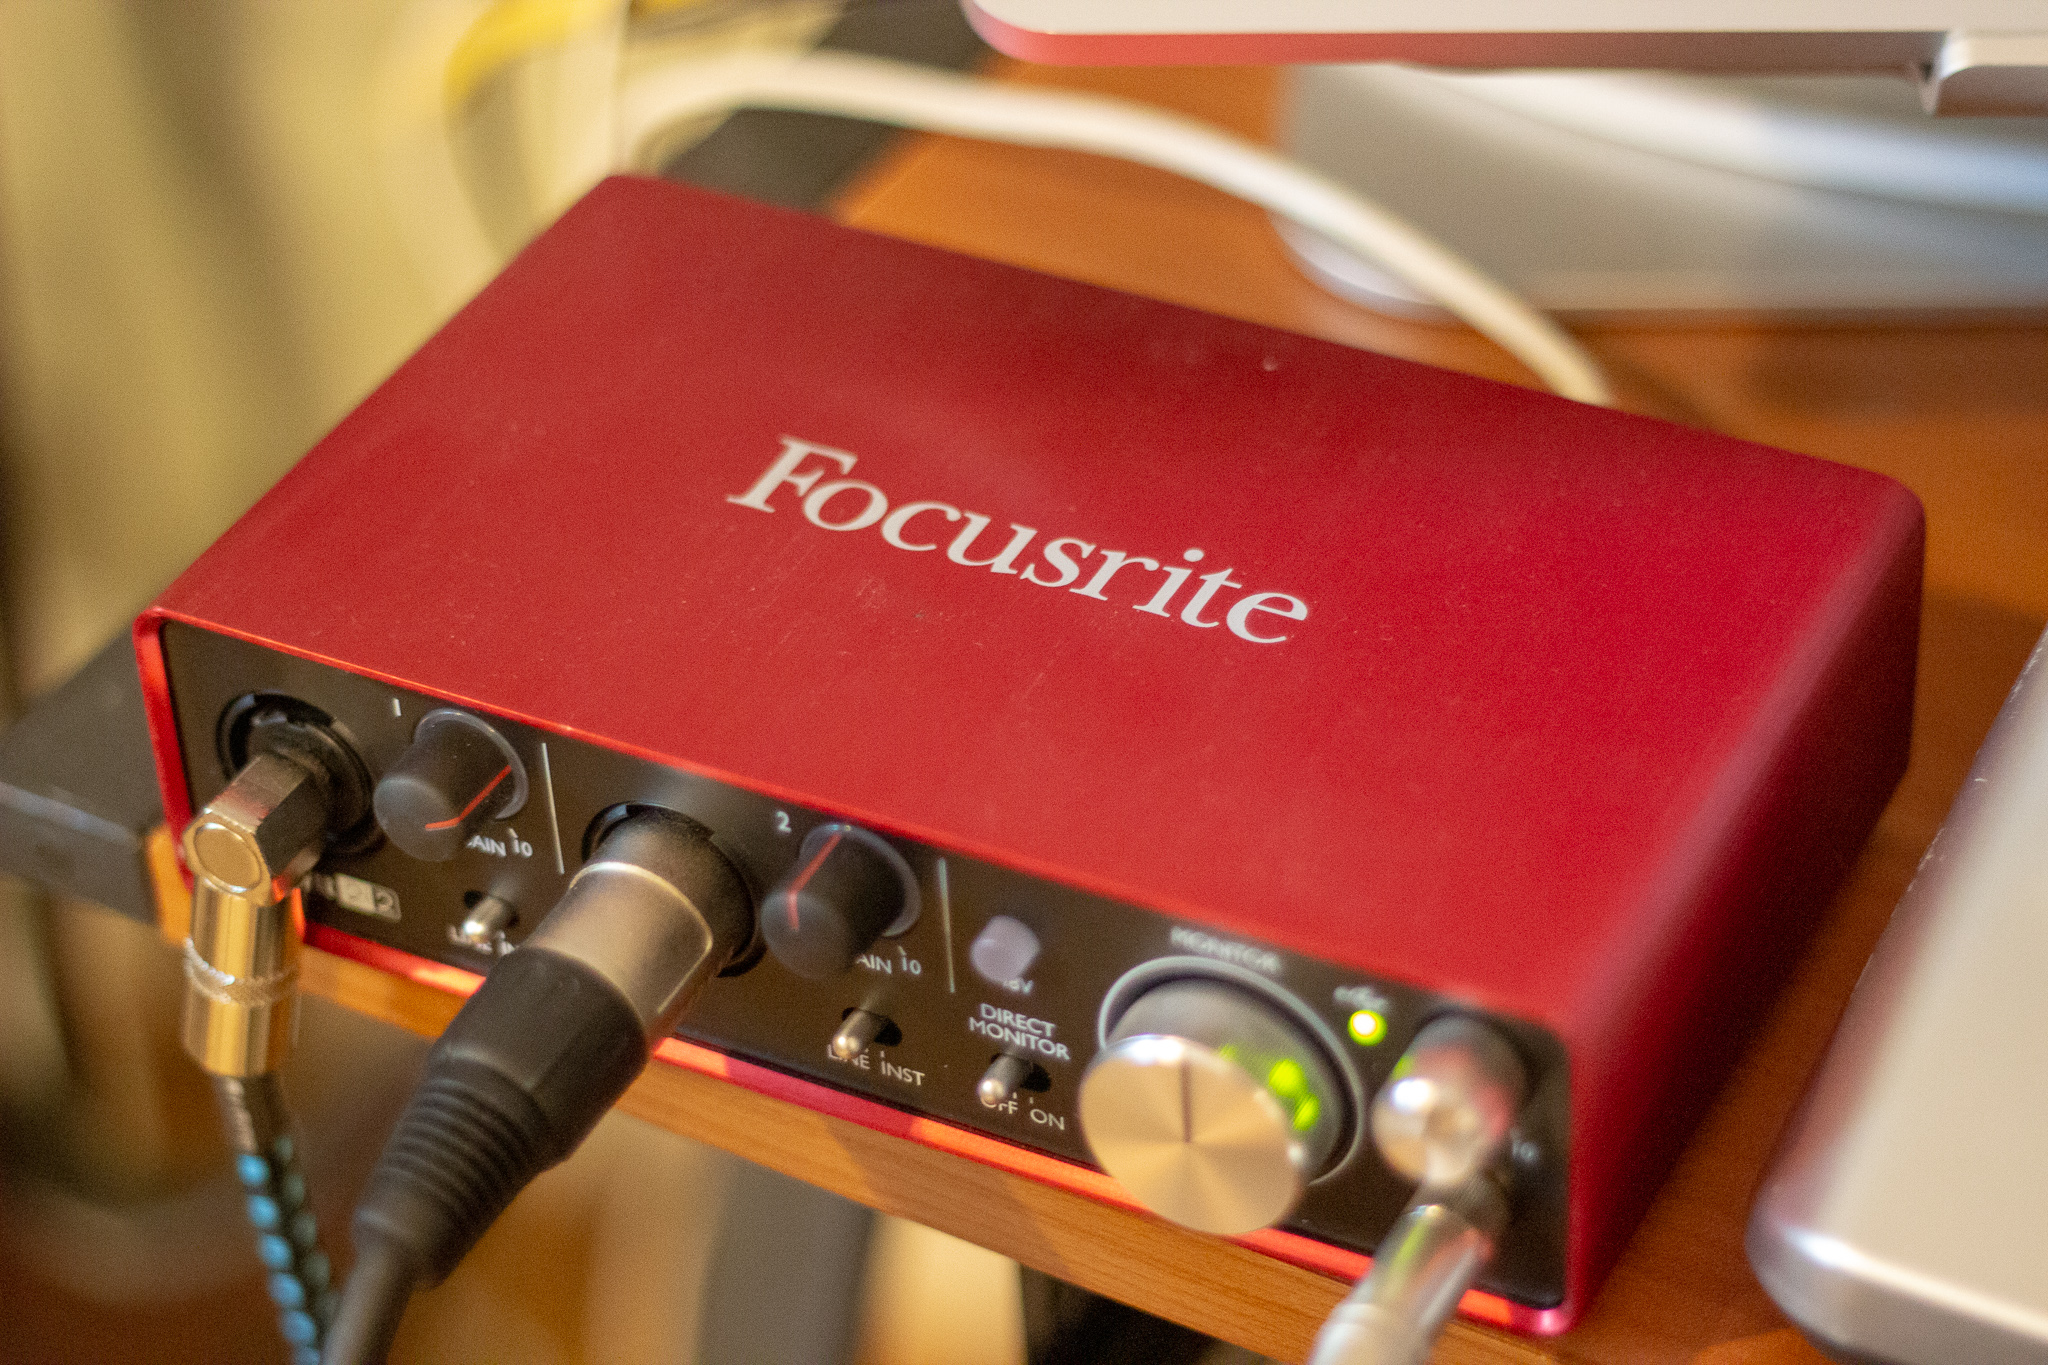
Focusrite Scarlett 2i2 USB Audio Interface
The Focusrite Scarlett series scales up and down for as many inputs as you think you’ll need, from the single-input Solo to a full studio-ready rack. With great sound quality and very little noise, I highly recommend starting there. I can’t speak directly to their quality, but for a cheaper option the Behringer U-Phoria series has something for every level, with the single-input option starting at an incredibly reasonable $40.
Buying Gear
Now’s probably a good time to mention that you should check out Reverb for deals on used gear. It’s definitely worth trying to save a few bucks on the higher-quality options. I bought my 2i2 as well as two guitars from Reverb sellers with no trouble!
If you want to buy new you have plenty of options. Aside from buying direct from the manufacturer, there’s Reverb, Sweetwater, Guitar Center, and of course Amazon.
Monitors/Headphones
Not only do you need devices to record high-quality sound, you need something to reproduce the sound that’s true to life. That’s where studio monitor speakers or monitor headphones come in.
I’ve been using the same pair of Sony MDRV6 Studio Monitor Headphones for years now. They produce a very clear sound, but they definitely lean a bit towards the highs. I always listen to my recordings on other speakers and headphones before calling a mix “done” just to be safe. They are over-ear headphones and are comfortable to wear for long periods of time, even while wearing glasses. While they block a lot of outside sound, if your monitor volume is too high you might accidentally pick up some headphone sound through your microphone.
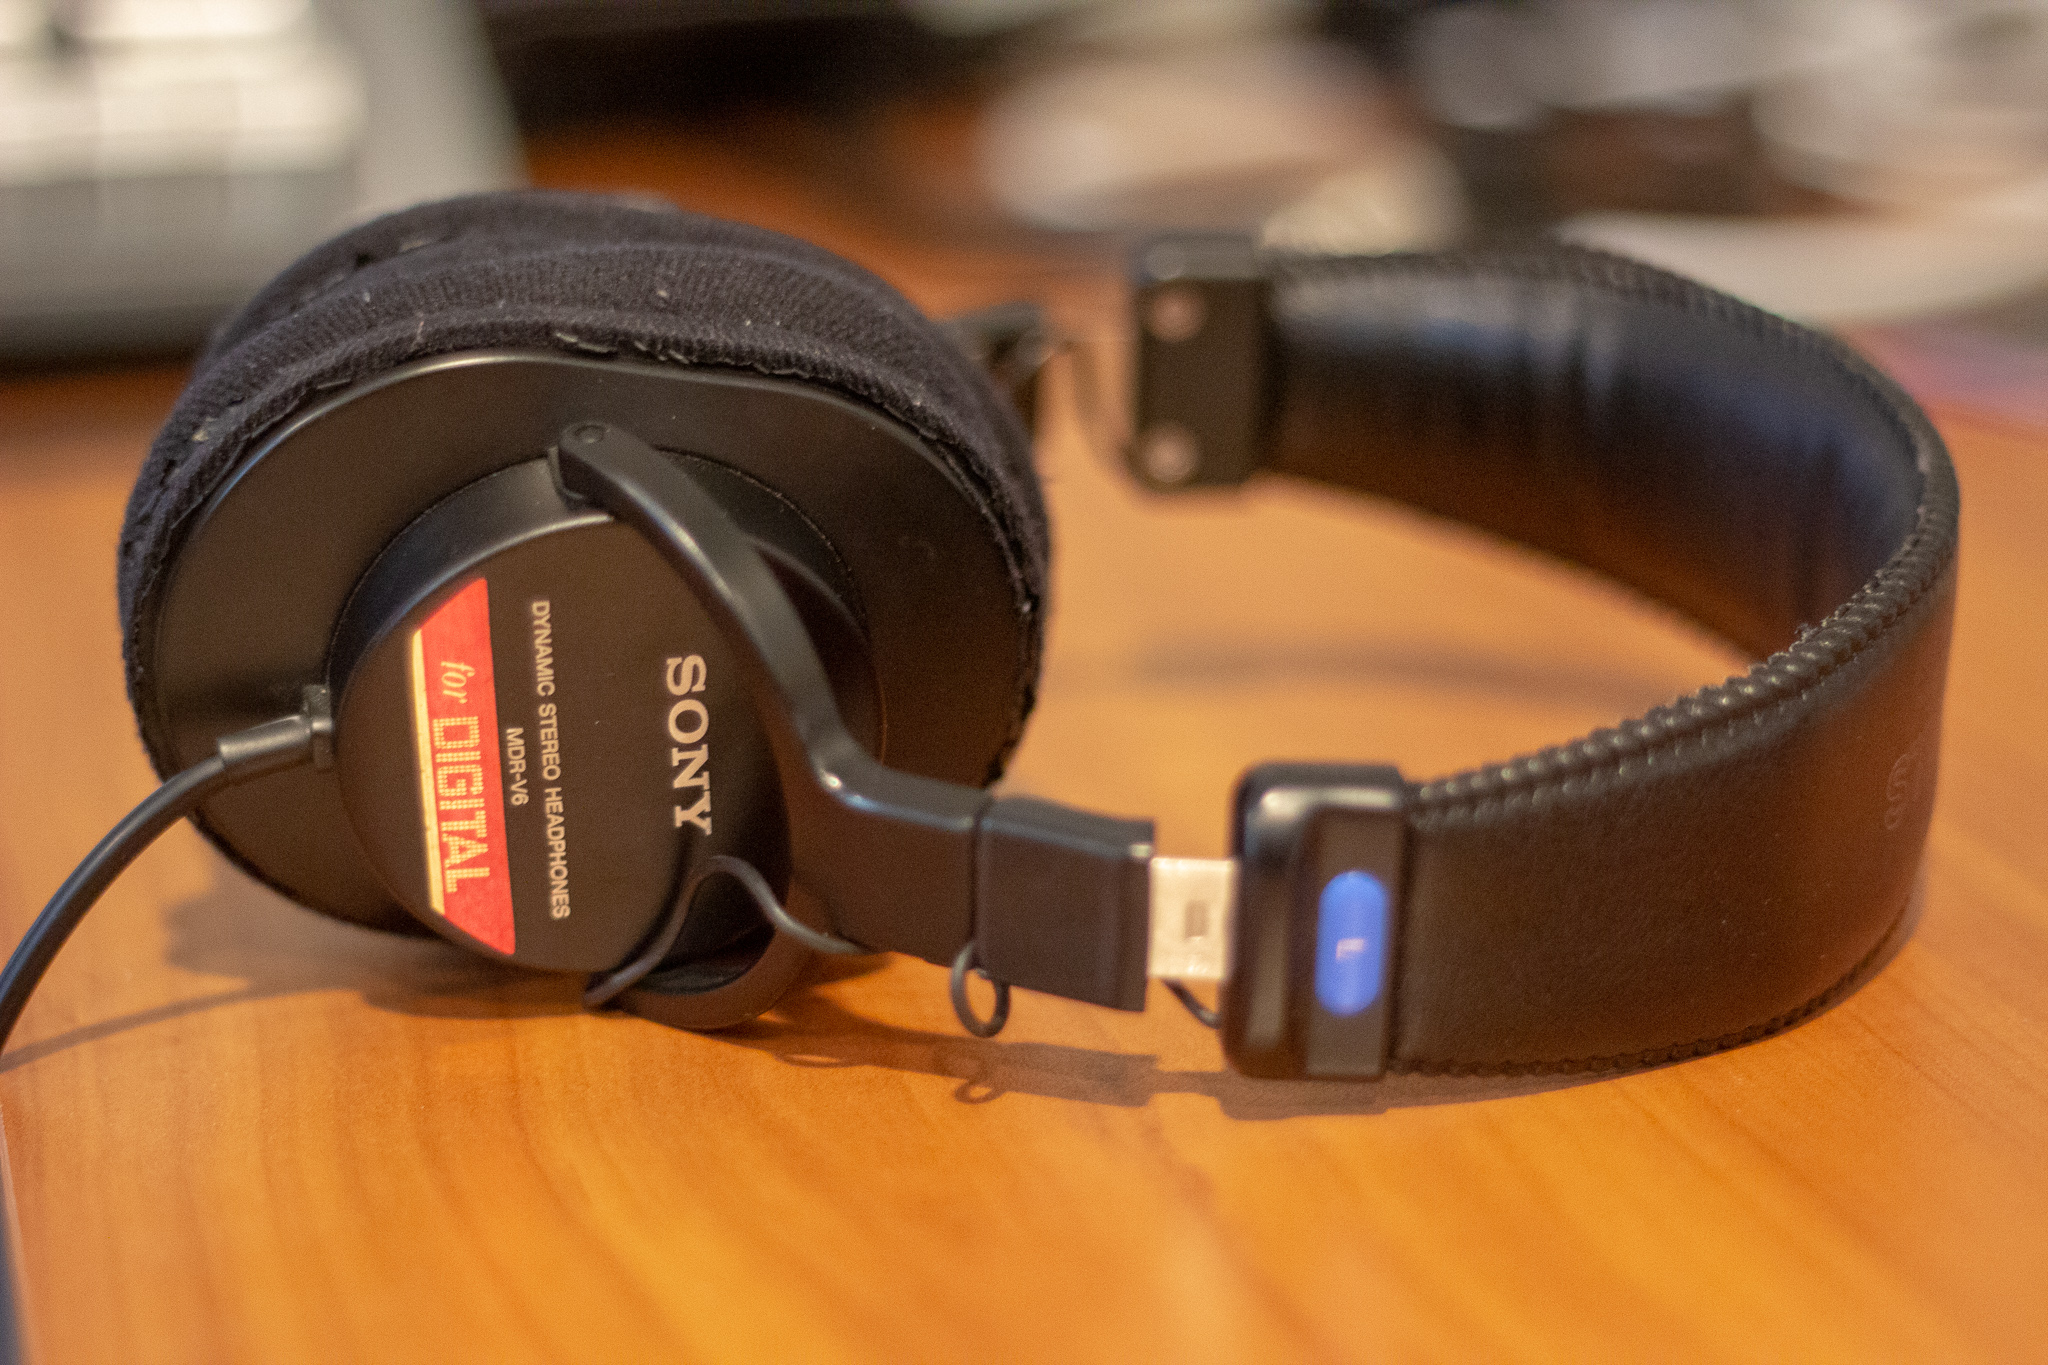
Sony MDRV6 Studio Monitor Headphones
Because I’ve been using the same headphones for forever, I haven’t bothered to get studio monitor speakers yet. Considering I’m usually recording solo I don’t need the speakers - no one else has to hear anything - and if I’m working with someone we just past the headphones around. I don’t have other recommendations, but there are many, many options for both monitor speakers and headphones.
Digital Audio Workstation
Bringing together all the hardware is software in the form of a digital audio workstation, or DAW. Options for DAWs vary greatly by price and supported operating systems.
I’ve been using a MacBook Pro for many years. I started recording with GarageBand, a free DAW included with macOS, and last year upgraded to its professional-quality sibling Logic Pro X. Both offer multitrack recording, dozens of MIDI soundbanks and built-in effects, guitar amp simulation, track effect automation, royalty-free sound loops, and more. Logic takes the recording and mixing processes to the next level with fine-grained effects editing, even more synthesizer and soundbank options, and many other features. I’m especially fond of how it handles “takes,” letting you re-record over the same audio region and edit together the best combination. It takes a ton of the hassle out of editing.
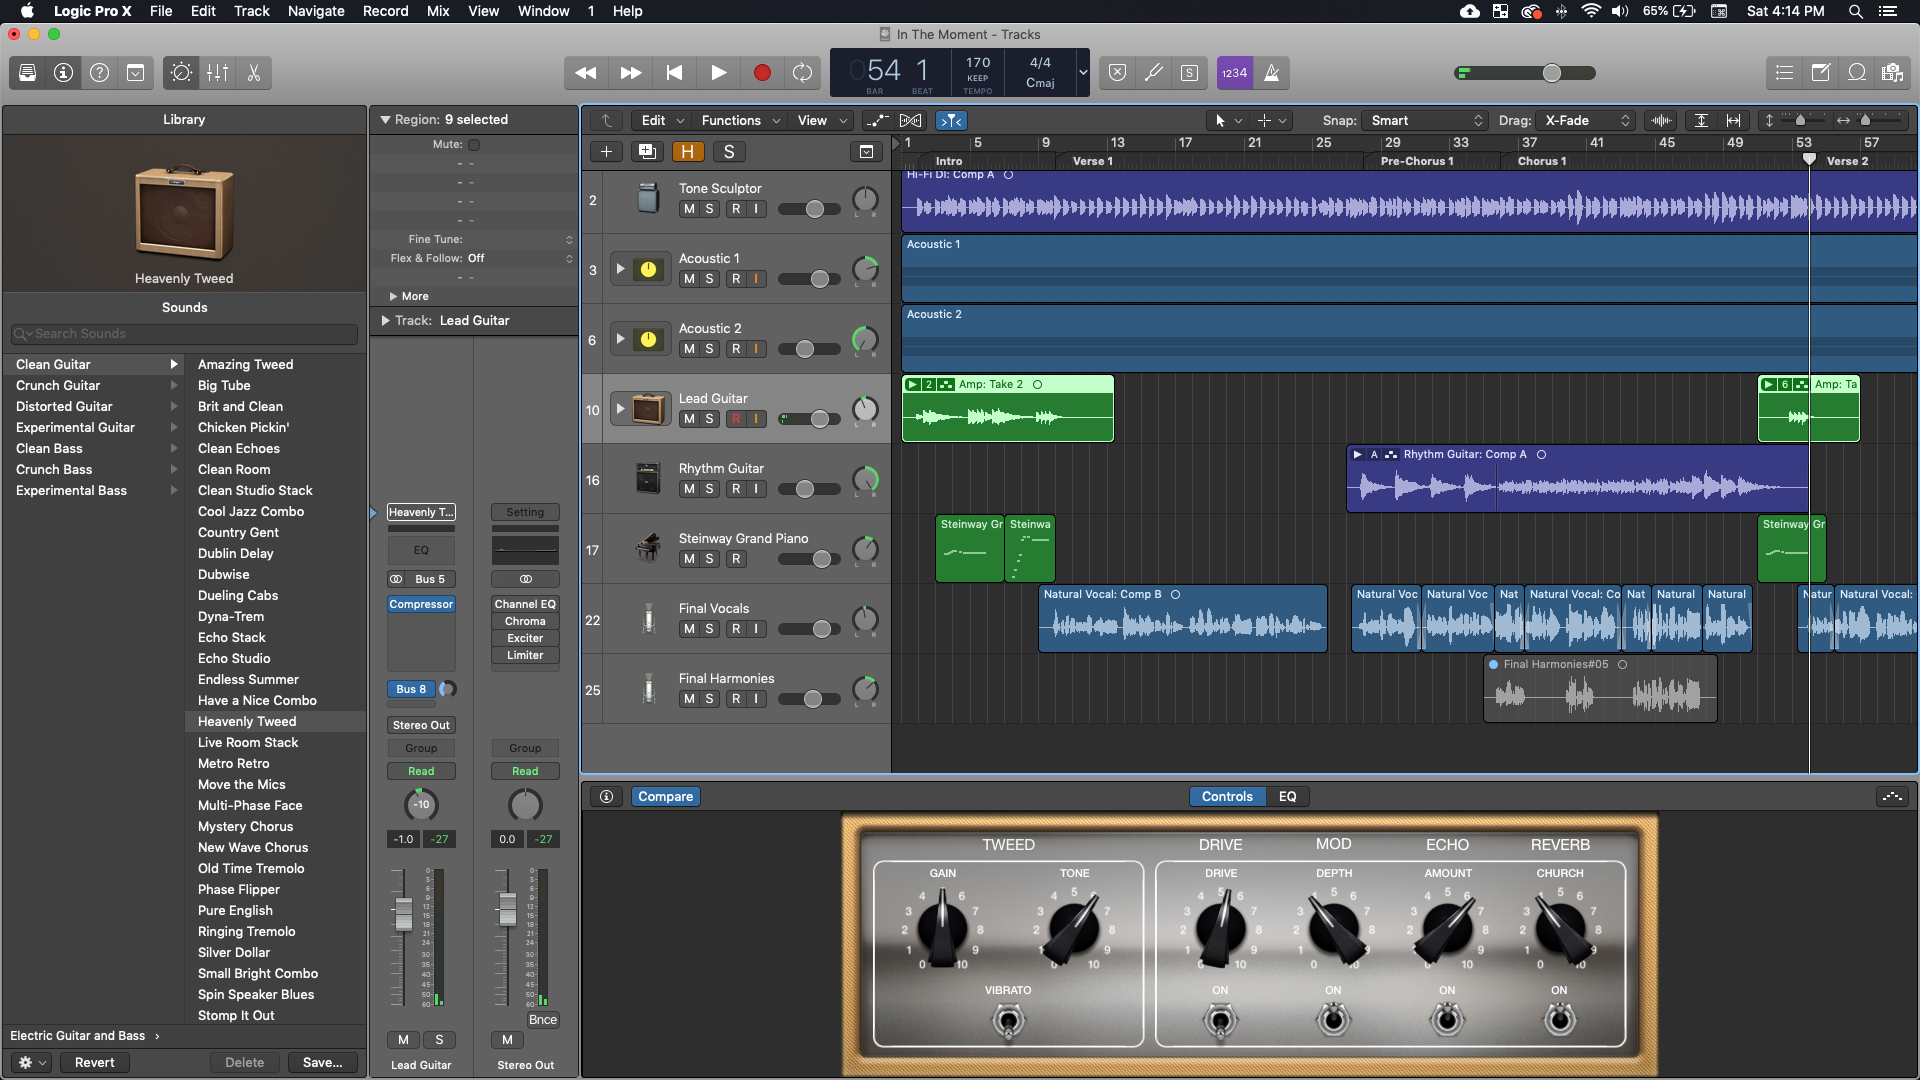
Logic Pro X, a digital audio workstation by Apple
For a sample of what Logic can do, check out my recent songs on SoundCloud.
My roommate is also into music, but he uses a Windows 10 desktop. He opted for Ableton Live, a professional DAW with a slight bend towards electronic music production. It especially shines at exposing the fine-grained controls of audio effects units (compressors, synths, etc) in a way that is both detailed and approachable. While Logic is a flat $200, Ableton Live starts at about $100. Packages with additional features go up to $750 (with education discounts for students).
For examples of Ableton Live, check out our serious joke band on SoundCloud.
There are lots of great options when it comes to picking a DAW. Some free options include Audacity, FL Studio, and Reaper (which my friend Drew records with), and many paid options have free trials. Some DAWs come with lots of built-in sounds and effects (like Logic), and others rely on 3rd party plugins (like Reaper). Learning a DAW can take some time, so be patient and try plenty of options to see if anything clicks. One thing holds true - you don’t need to shell out for ProTools to make high-quality recordings!
The Rest
There were a few other items on my list that I haven’t mentioned yet. Here are the basics for any recording setup: for mics, you’ll need a few XLR cables; for guitars, you’ll need a few 1/4” cables; make sure you have a pop screen when recording vocals; and you’ll want some mic stands for holding and positioning your microphones.
While you can edit MIDI directly in many DAWs, you’ll probably want a USB MIDI keyboard. I have a now-discontinued M-Audio KeyRig 49. It’s a simple keyboard with controls for volume, modulation, pitch bend, and a sustain pedal. For a modern and more-featured option, there’s the M-Audio Keystation series. I can’t really play piano, but I can do simple melody lines and experiment with all the Logic soundbanks. There are many options for MIDI keyboards and controllers.
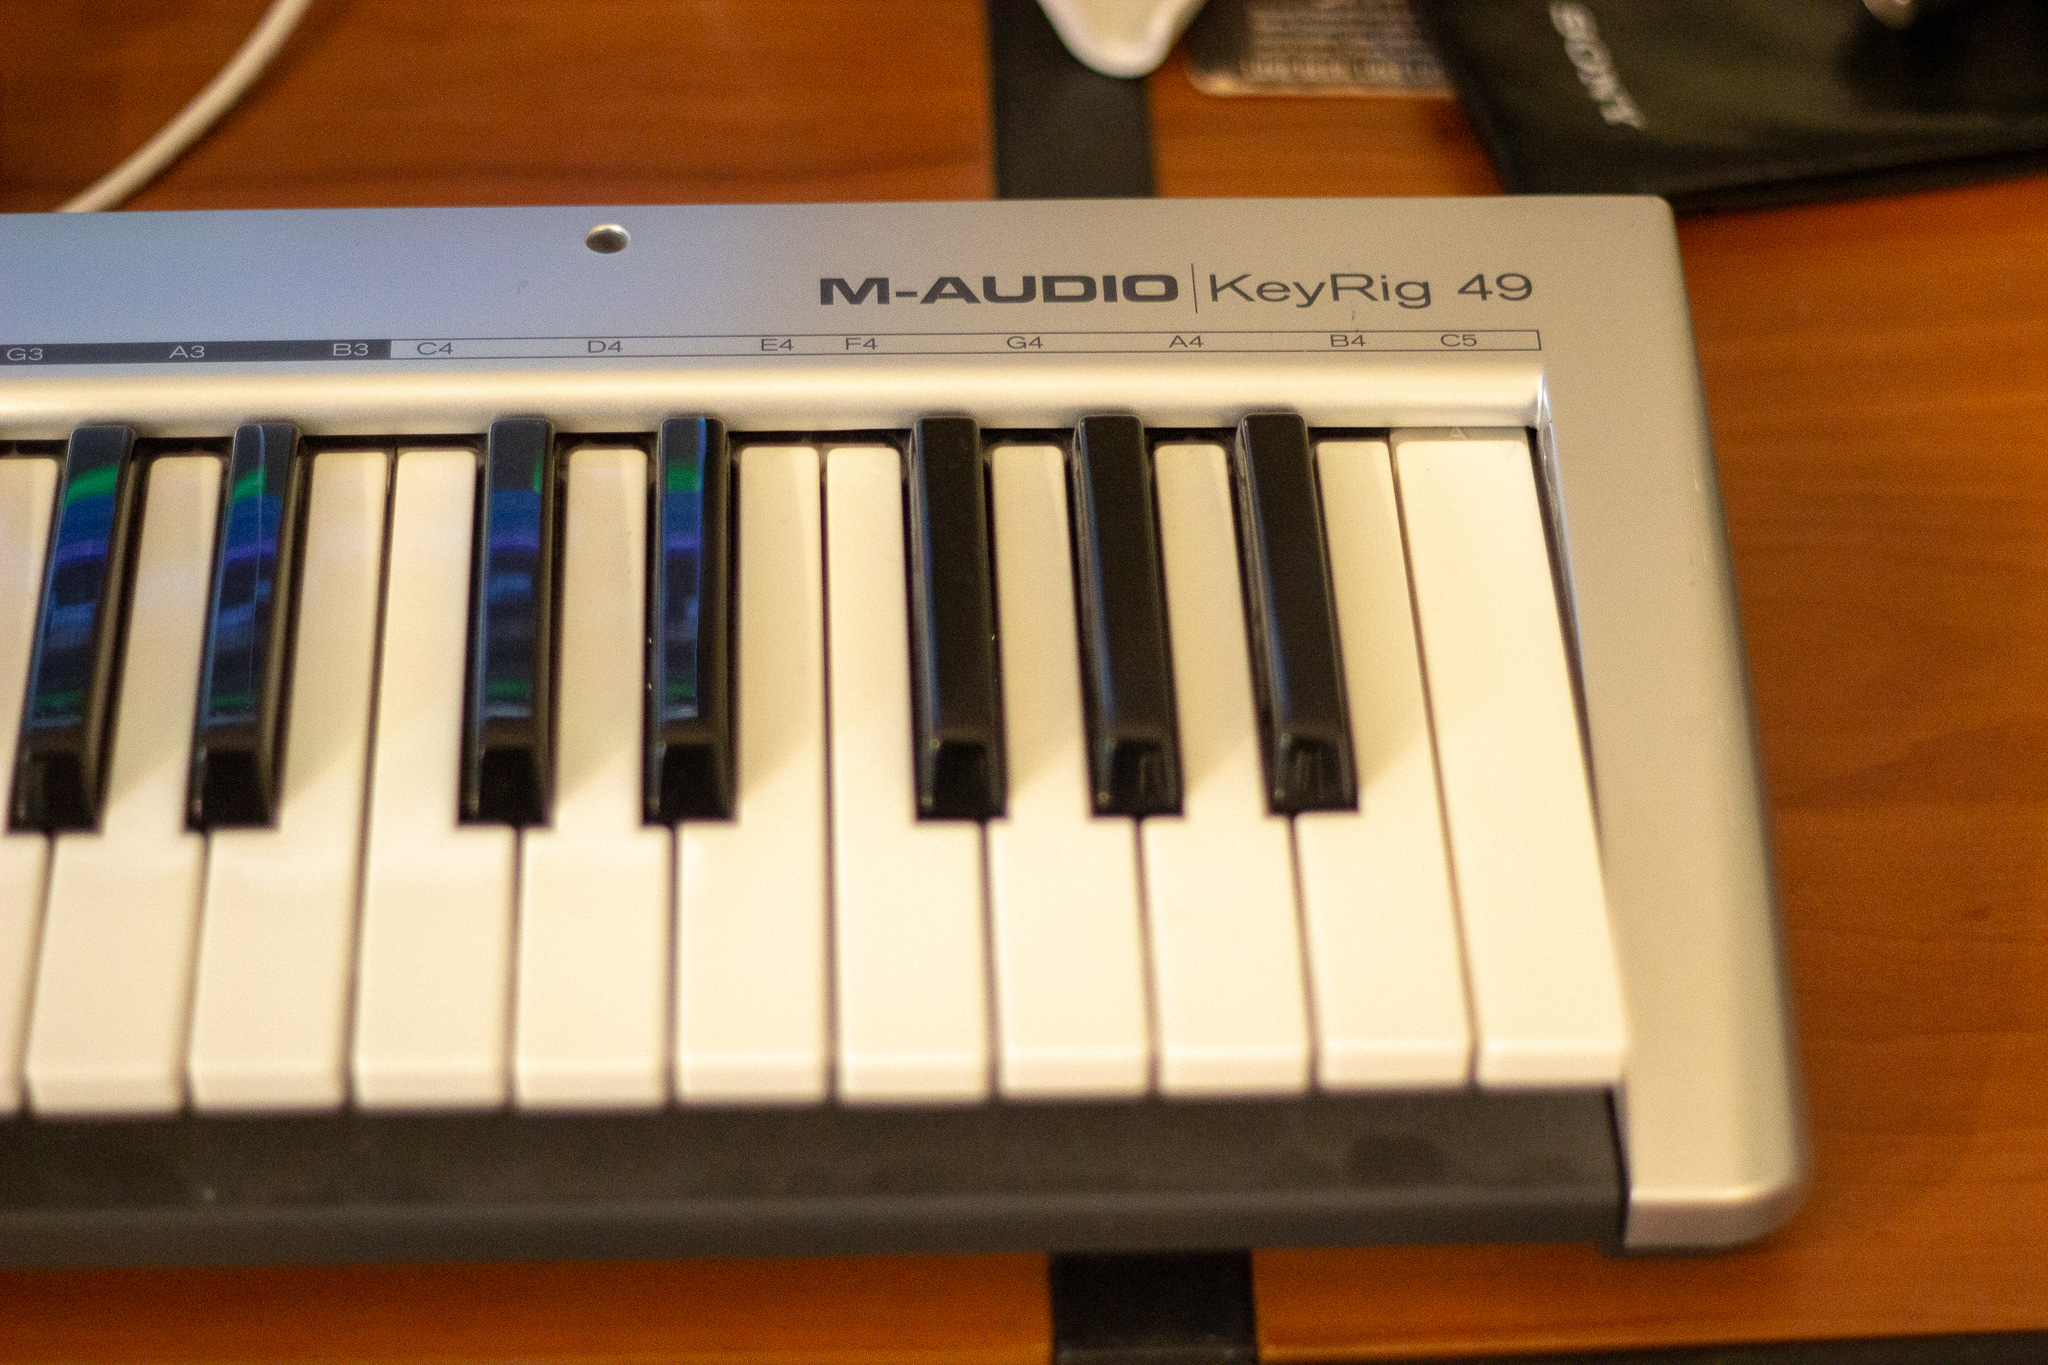
M-Audio KeyRig 49, one of many MIDI keyboard options
You can also use lots of music notation software to write music notation or guitar tabs and export as MIDI. You can then import the MIDI into your DAW and use the built-in soundbanks. I do this sometimes for drums and piano lines I can’t play in real life, or to import vocal melodies I can sing along to as I warm up. I use Guitar Pro for both tabs and standard notation, and MuseScore is a good free alternative that is more focused on notation.
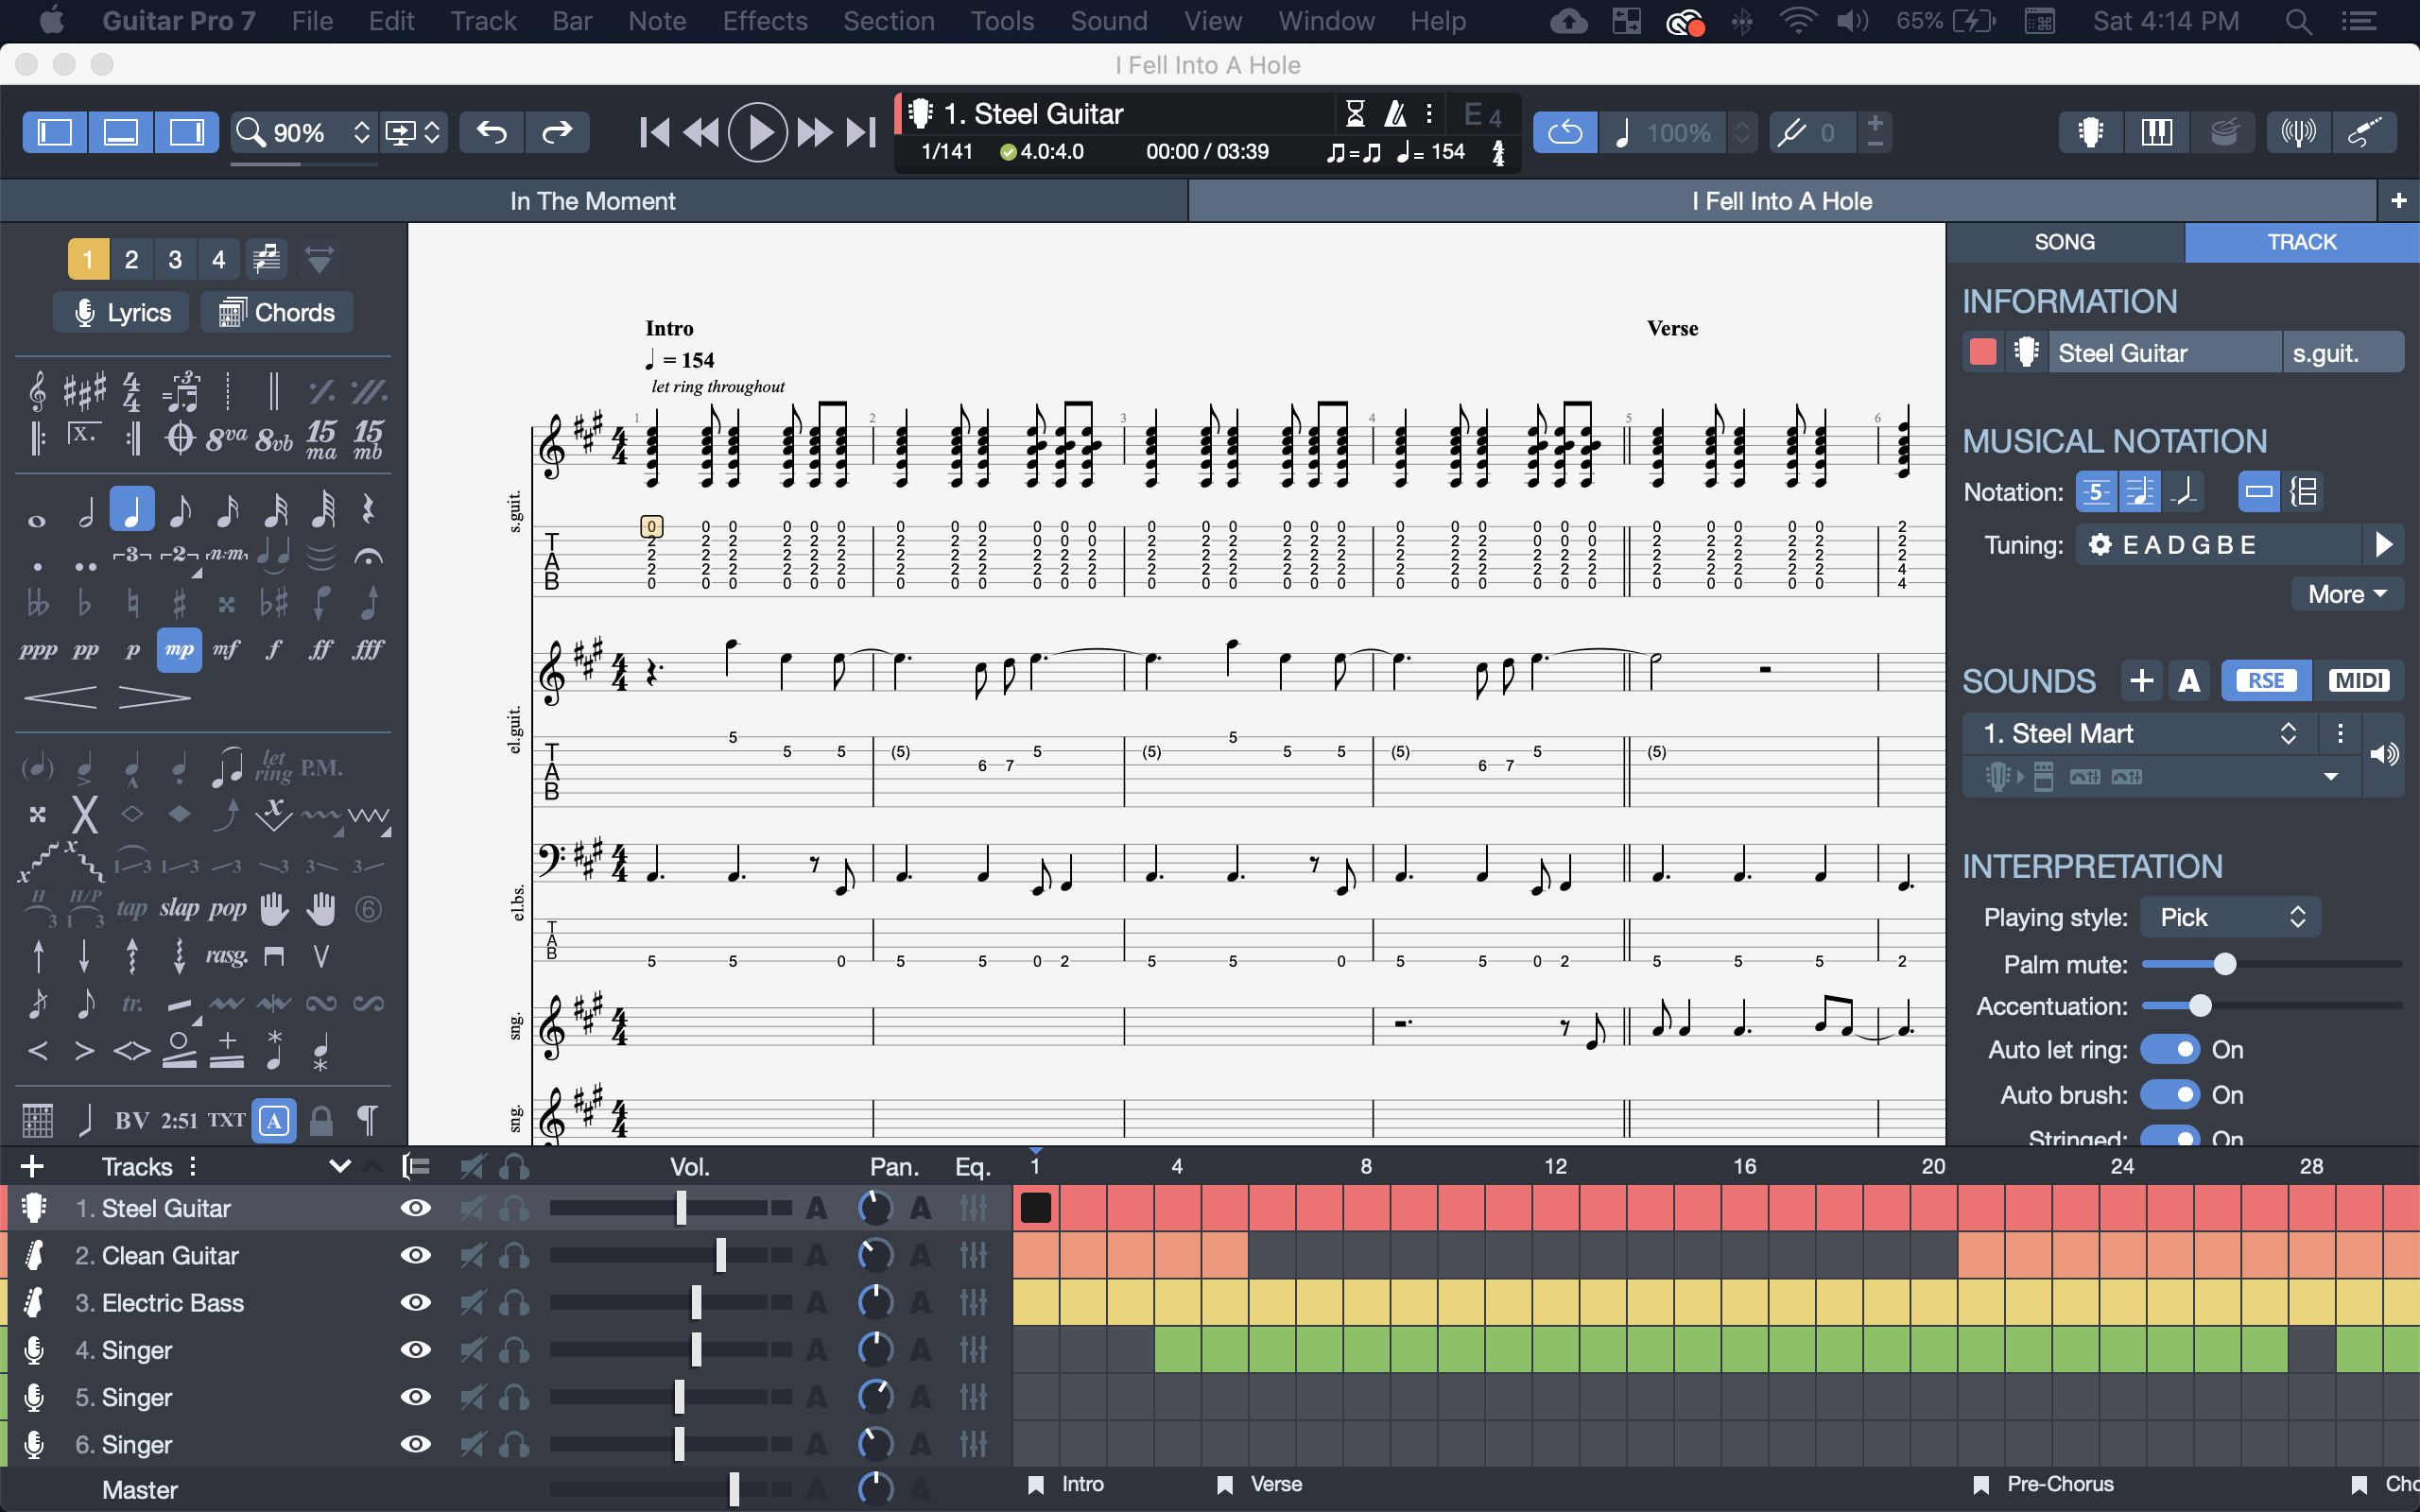
Guitar Pro 7, music score and tablature editor by Arobas Music
I also have an Alesis Nitro electric drum set. It has MIDI output for recording directly into Logic, which for me can be easier than using a keyboard and is a lot more fun. For both keys and drums, I rely on MIDI quantization in Logic to keep my recordings in-time with the tempo.
DAW Tips
As I’ve gotten more familiar with Logic and recording, I’ve learned how to get an even better sound out of my recordings. Here are a few tips and tricks I often employ to give my music a boost. (It’s been a while since I took an audio engineering course, so bear with me if these aren’t perfect).
Utilize EQ and Filters! I haven’t mastered this yet, but try to give each instrument its own “space” in the mix. I do this by applying EQ to boost or dampen the volume of certain frequencies on each track, or utilizing a highpass or lowpass filter. For instance, I’ll lower the bass or use a hi-pass filter on rhythm guitars so they sound brighter and don’t muddle the mix too much.

Highpass filters cut out lower bass frequencies
Always check your levels before recording! You want to get the most sound signal from your microphone without “clipping” (exceeding a 0dB input signal) or picking up room noise. This will ensure not only loudness without distortion, but give you more options when mixing later. You can more easily make a loud thing quiet than a quiet thing loud.
Take advantage of takes! Like I said earlier, I use takes in Logic whenever I record. Especially with vocals, I record each section of a song many times, editing together the best of each take to create a single composition. Many other DAWs have a similar feature.
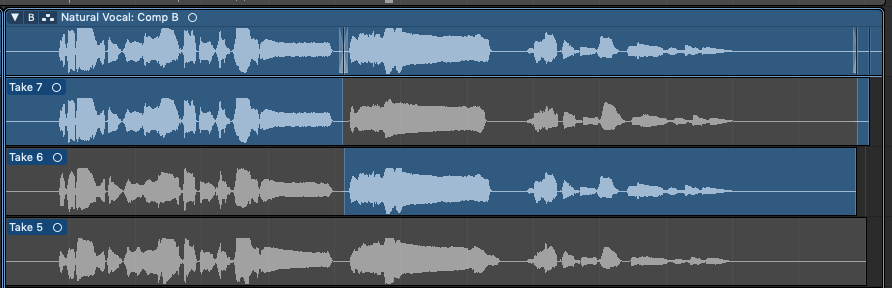
Takes are an easy way to edit your recordings
Compress with care! Compressors “flatten” the dynamic range of a track, boosting low volume parts while dampening high volume parts. Overly compressing a track (or worse, the whole mix) rarely sounds good, but a properly applied compressor can smooth out a shaky vocal or instrument track.
Increase your loudness! I found matching the loudness of my tracks to professional recordings challenging at first. Lately I apply the following effects to my master track in this order: Channel EQ (usually a Logic preset to balance frequencies), Reverb (if wanted, to apply evenly to all tracks), Exciter (to add some artificial “bright” tones), and Limiter (to boost the input gain without compressing). The Limiter is especially important, and I usually bump the input up until the loudest part of my track is being reduced by 1-3dB (not too much to become obvious).
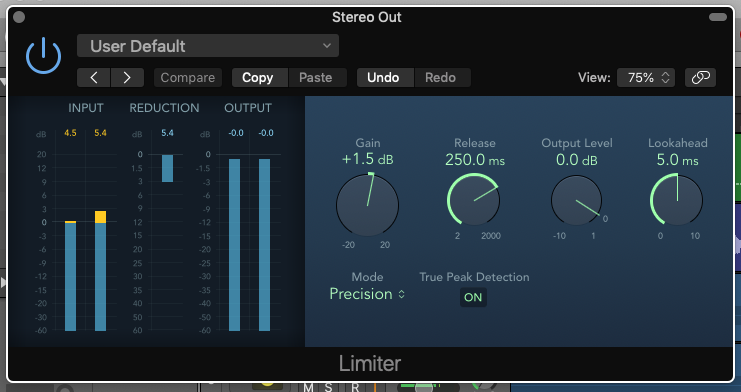
Use a limiter to increase gain without clipping
Conclusion
Given the cost of even the budget gear and the sheer number of options out there, setting up a home recording studio can be a daunting task. Hopefully my setup and other recommendations above give you the confidence to finally start building one for yourself. My “studio” is still in my bedroom, and I didn’t have to drop all that cash at once. I slowly acquired mics, instruments, software, and other gear, and now with time and experience I’m really happy with the quality of my recordings.
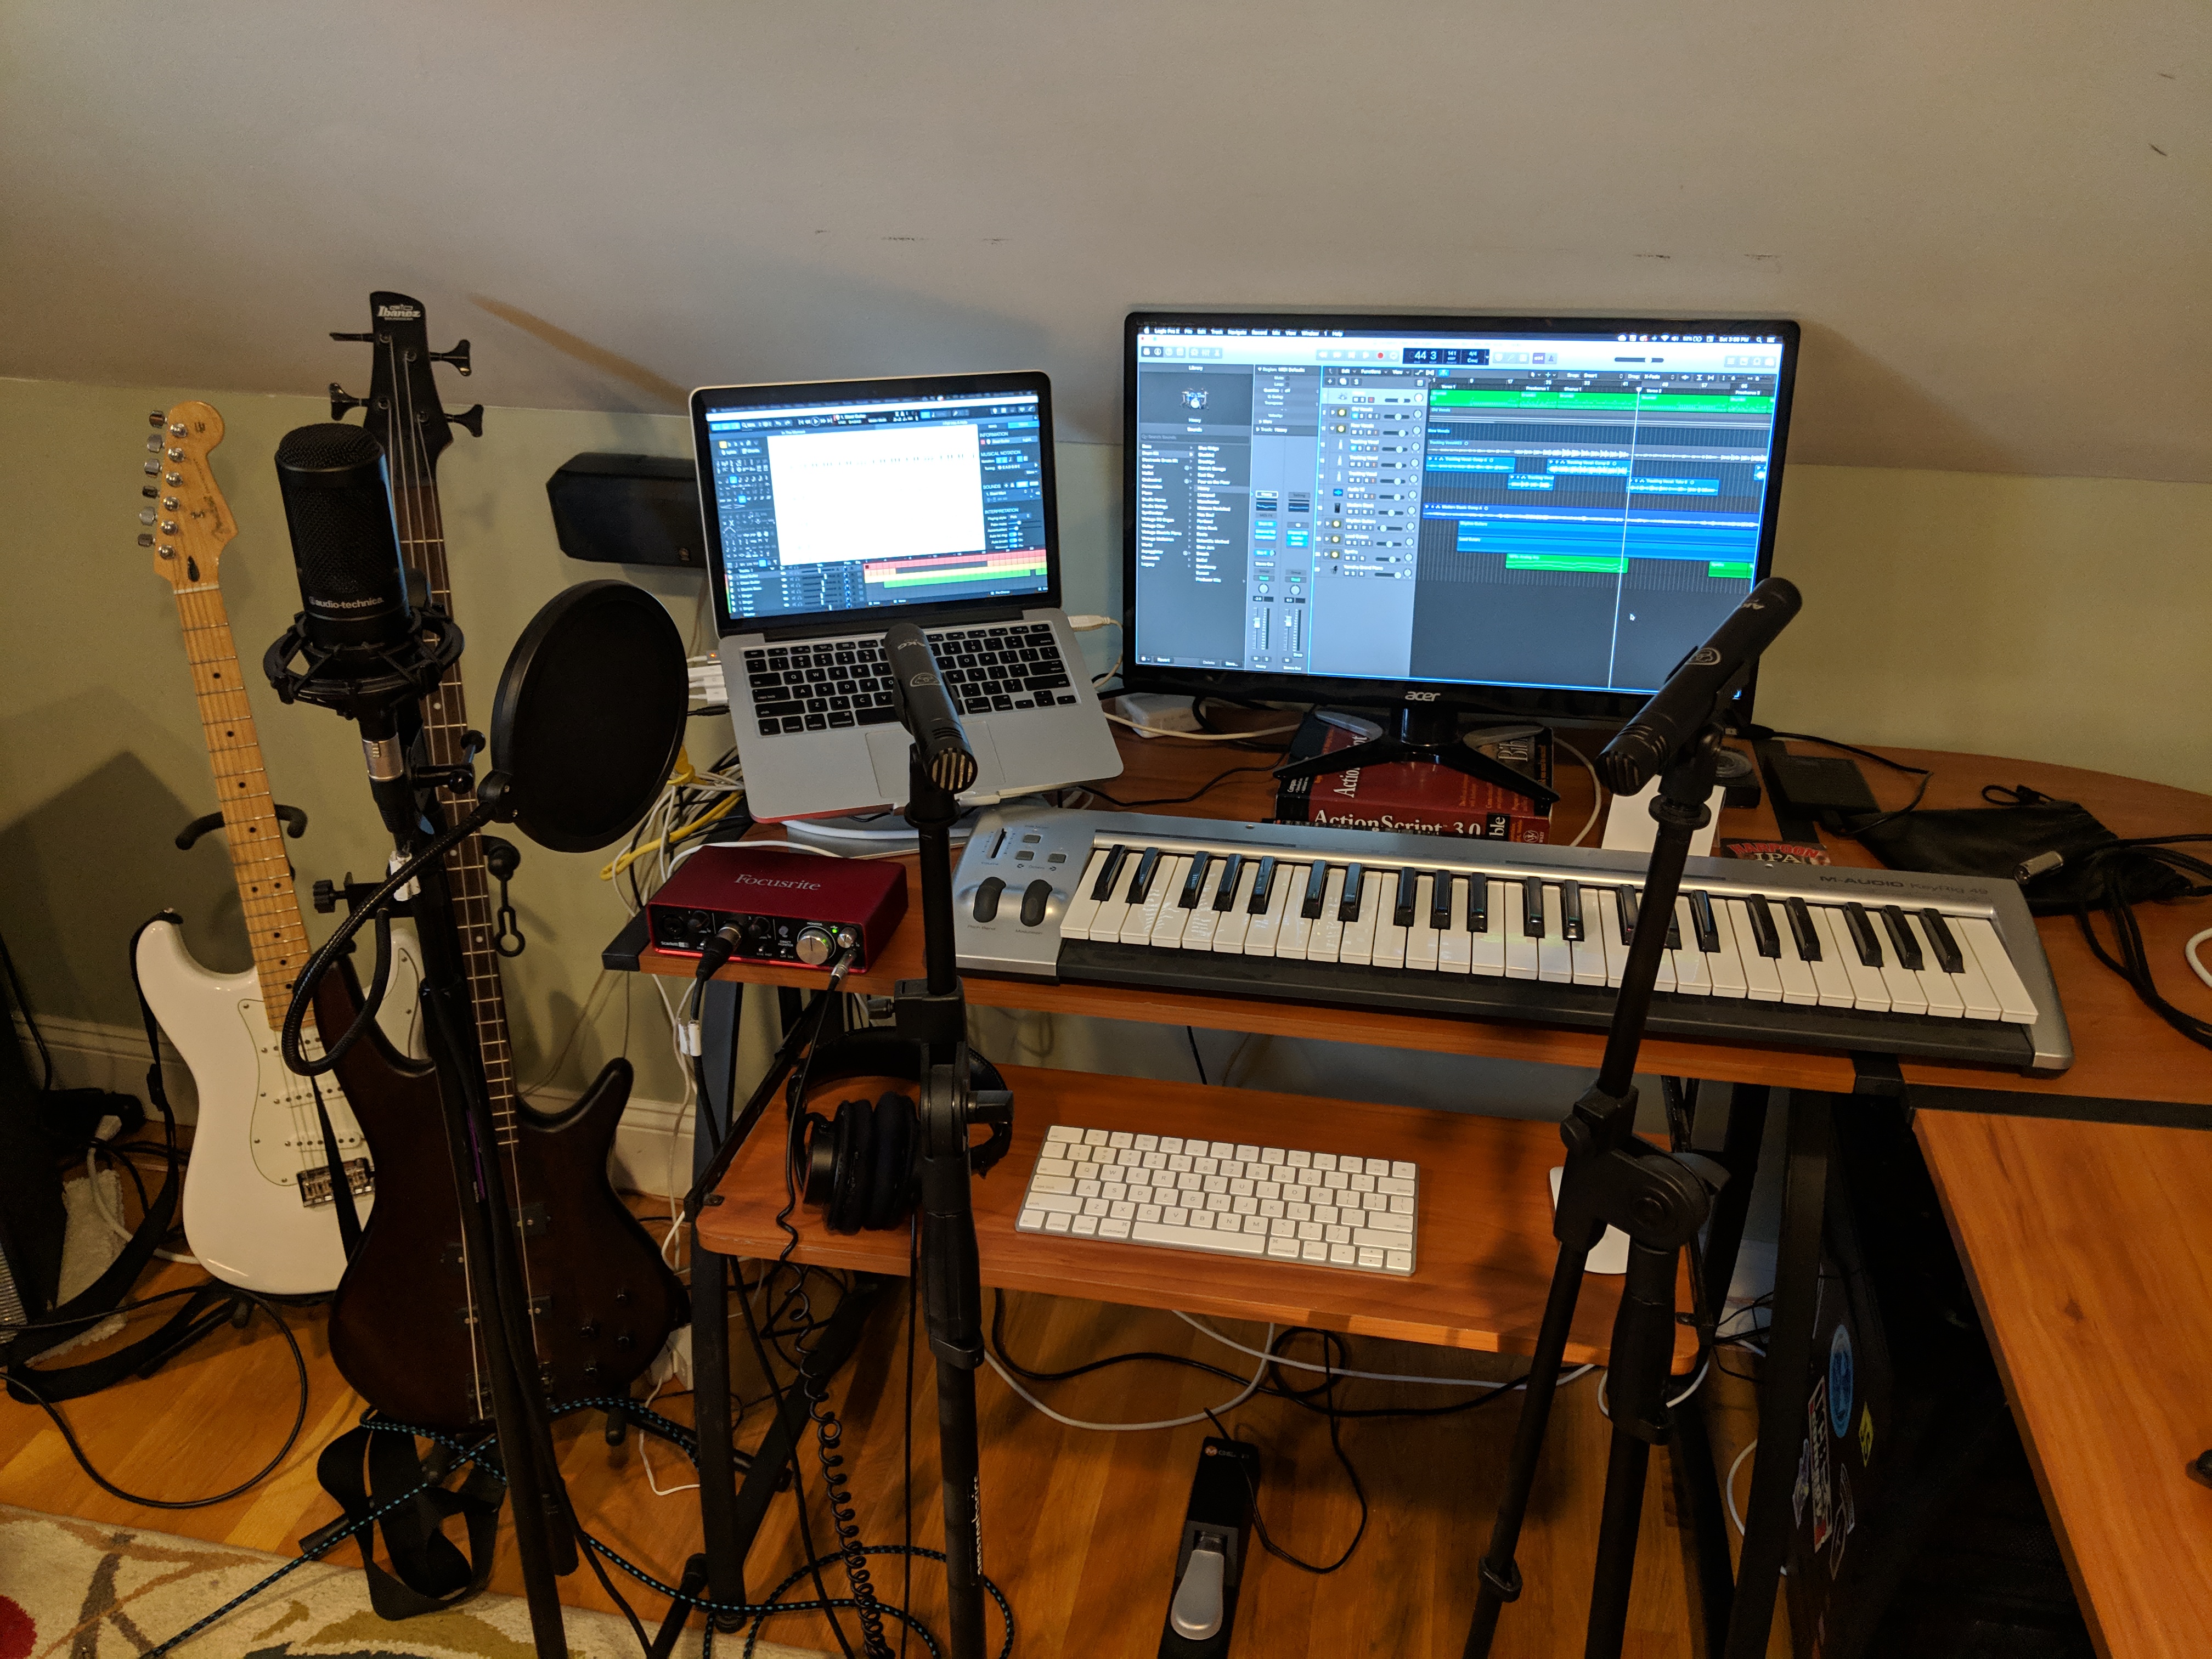
Everything I need to record my music
If you’d like, you can listen to my music on SoundCloud, Bandcamp, or YouTube.
Throughout the article I posted links to buy gear. I don’t get paid for affiliate links, so consider saying “thanks” by buying my music on Bandcamp, or leave a comment below if this was helpful!
Subscribe via RSS